Installing a Nail-Fin Window Over Peel-and-Stick Housewrap
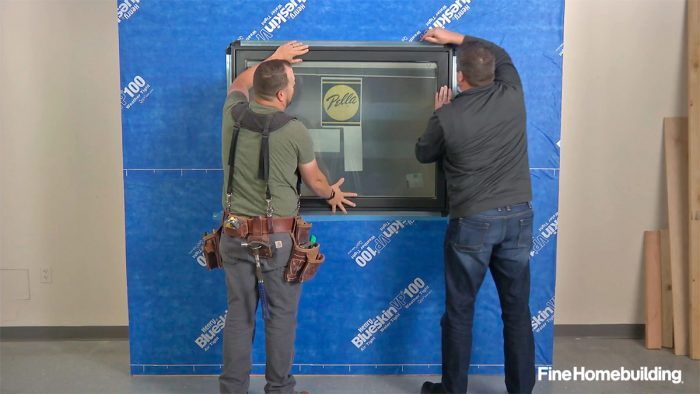
As we add thicker insulation and more water-sensitive materials to the walls of our houses, it becomes increasingly important to detail our exterior walls to keep water out. Window flashing is one of the parts of a house where this matters most. Getting flashing details right for the common nail-fin-style window means making leakproof transitions between the water-resistive barrier (WRB) and the flanges that fasten the window to the wall.
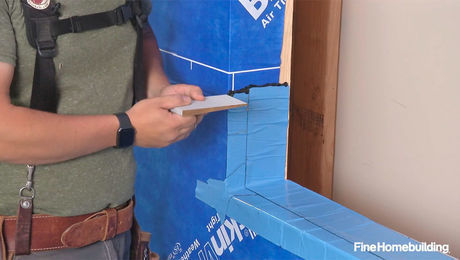
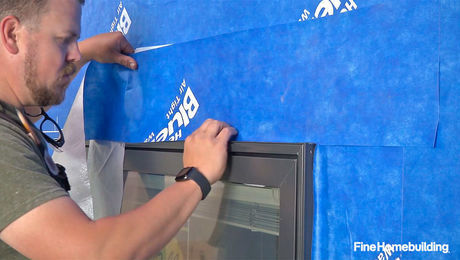
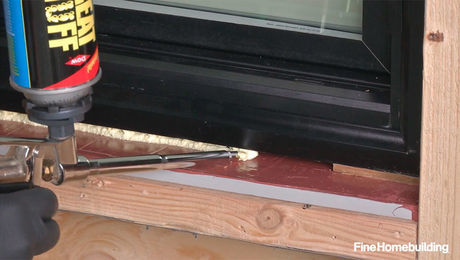
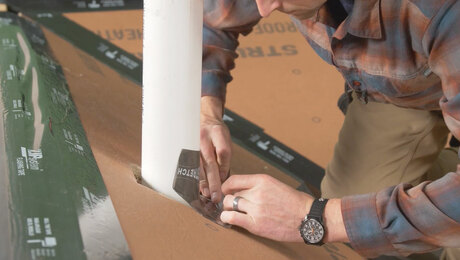
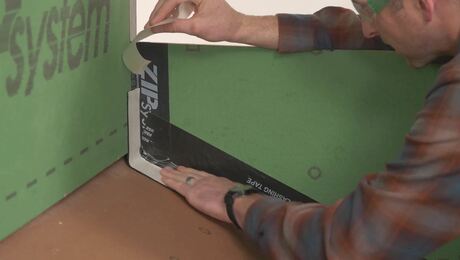
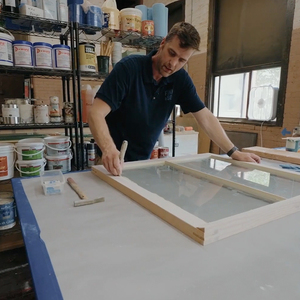
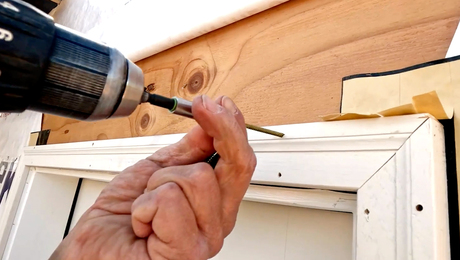
In this Fine Homebuilding Shop Class video series, professional builder Jake Bruton demonstrates the crucial steps for getting the flashing details right when installing a flanged window in a wall covered in a self-adhered housewrap—in this case, Henry Blueskin VP100. In the first episode, Jake prepares the opening in the wall by cutting through the peel-and-stick housewrap and folding it back to the studs, and then he wraps the entire rough opening with butyl flashing tape. In episode 2, he adds a bead of sealant before inserting, plumbing, squaring up, and fastening the window in place. The third episode outlines the methods for using strips of the housewrap itself to cover the flanges and create the primary waterproofing details. Finally, he applies foam and sealant in the gaps between the window and the interior side of the rough opening to wrap up this airtight, energy-efficient installation.
Videos in the Series
-
Part 1: Prepare a Rough Opening for a Nail-Fin Window Over Peel-and-Stick Housewrap
-
Part 2: Install a Nail-Fin Window over Peel-and-Stick Housewrap
-
Part 3: Flash a Nail-Fin Window over Peel-and-Stick Housewrap
-
Part 4: Air-Seal and Insulate a Nail-Fin Window over Peel-and-Stick Housewrap
-
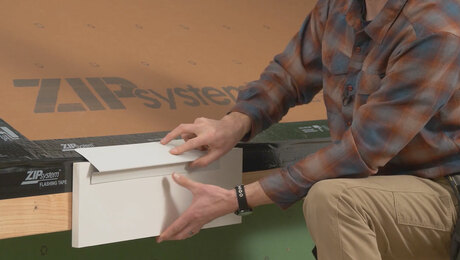
Have a different type of wall? Check out the full video series

