How To Use SketchUp’s “Photo Match” Feature to Efficiently Design Remodeling Projects
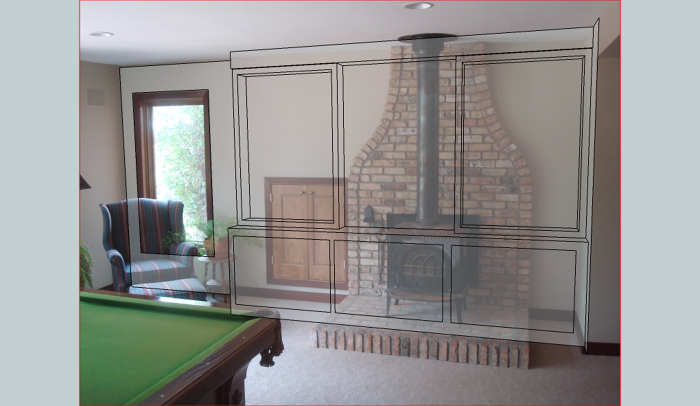
See how importing digital photos into SketchUp can jump-start the design process and aid bidding and selling your next built-in cabinet project.
If you can show your clients exactly what a built-in project will look like before you get started on construction, you have a much better chance of making them happy. With SketchUp’s “photo match” feature, you can build a 3-D model right over a photo of the existing space you will be working in to show how the new work will fit in with the old. Not only will you look more professional and capable to you client, but you’ll have a better chance of avoiding any costly surprises when it comes time to do the actual construction work.
Think Before you Shoot.
A few things to think about before you take the photo you’ll import:
Consider the best vantage point when you take your digital photo. If possible, move objects that will detract from the final composite image keeping in mind that the photo remains “flat” while the model you insert into it is 3D making some objects look out of place like the brick hearth and pool table in the video clip. It’s difficult to avoid every conflict but a little forethought can minimize the impact they have.
Capture 3 useable “axis” lines in the photo by including straight lines such as corners, doors and window trim. I try to explain a bit about parallax and its effect in the first video clip so watch it to get an idea of how best to set up your shot.
Be sure to take a few key measurements from the physical space so you have them as reference to properly “scale” your photograph to the SketchUp model you create.
A Bit of Magic: Importing the Photo.
Once you have the digital photo you want to use, park it where you can find it on your hard drive. This video walks through using the Camera>Match New Photo process to bring the photo into SketchUp. With that done, select the grid format most appropriate for the project at hand. In this example I use the “Inside” grid format and set about aligning the SketchUp axes with the room photo. The axes alignment process can be a little confusing and intimidating (it was for me) but give it a go. It might help to not be too particular at first, just mess with it some to get a feel for how it works.
Next, set the scale with site measurements by drawing a few guide lines and a first line that lines up with an edge with a known site dimension. Once you select “resize the model” SketchUp does the rest.
I put in a bit of dialog on how to use the Styles dialog box to toggle your model from see-through to solid depending on the presentation you want to make. Older versions of SketchUp had a default opaque face style for the model but the newer downloads switched to a default opacity value of 80%, so set it up to suit your preferences.
Creating Your Built-in Model.
Trace the overall space the built in will occupy to the extent required by the project at hand. In this example I merely set up a “box” to represent the end wall of a room. The intent is to show how this particular room would look if the fireplace and wood box doors were removed and replaced with a built in bookcase.
You might simply trace the perimeter of the ceiling, for example, if your project is just adding a trim detail such as built-up crown moulding (see TDJ Blog Post Quick and Slick: Install Crown Moulding the SketchUp Way for crown moulding process)
Sometimes seeing how not-to-do something is a better lesson that being shown the right way. This tutorial is a case in point as you’ll see in the third video where the bookcase looks like it overlaps a corner of the pooltable in the room. In hindsight I think it might “show” better if I take a photo from the opposite side of the room with a different angle to leave more carpet space between the proposed bookcase and the immoveable pool table.
Fine Tuning: prepping your PhotoMatch for presentation:
Your model can contain as much or litte detail as the project requires ranging from basic shape and design (like the one I whip up in the video) to a full-blown fabrication model. I’ve used the full spectrum of detail on various projects depending on job reqirements and client preferences. To download the model used in this tutorial go to the SketchUp Component Warehouse and search for “Using the “Photo Match” Feature of SketchUp model”
I hope this session at The Digital Jobsite gives you a bit of insight into the benefits of using the PhotoMatch feature of SketchUp as Mr Benner has.
Download the SketchUp model from this tutorial in the Google 3-D warehouse.
Fine Homebuilding Recommended Products
Fine Homebuilding receives a commission for items purchased through links on this site, including Amazon Associates and other affiliate advertising programs.

All New Bathroom Ideas that Work

A House Needs to Breathe...Or Does It?: An Introduction to Building Science

The New Carbon Architecture: Building to Cool the Climate
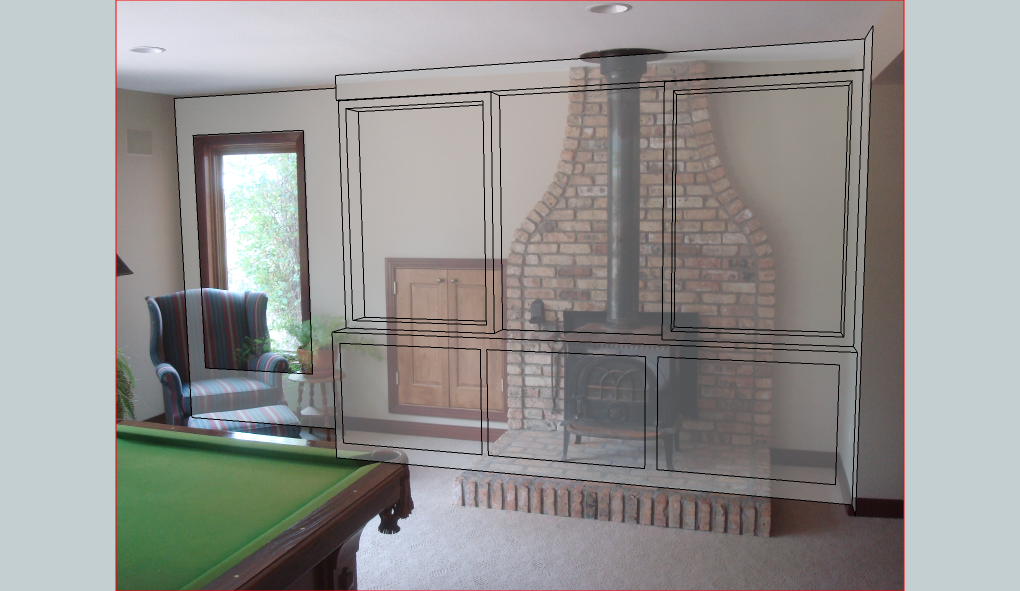
SketchUp bookcase model superimposed over a digital photograph
