How To Build A Distinctive Stair Rail
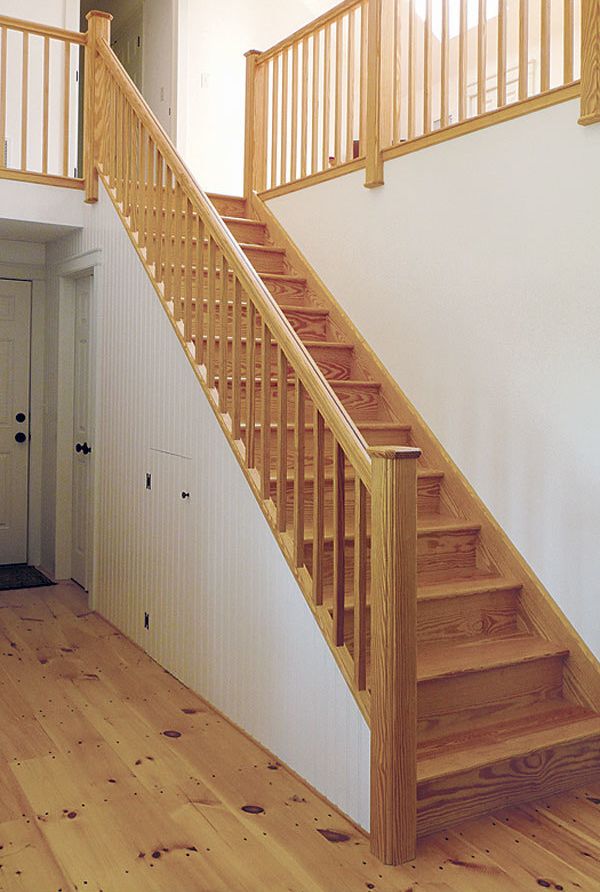
Create a stain-grade and sturdy custom railing, balustrade, and newel posts on site with stock lumber.

Synopsis: In FHB #214, Joseph Lanza described his process for building a set of housed-stringer stairs. Here, Lanza tells how he shapes everyday lumber (4/4 and 5/4 stock) to build a distinctive railing, balustrade, and newel posts for the stair. Lanza begins by planning the layout on paper. Next, he laminates the newel posts and assembles the balustrade in sections. For the handrail, Lanza makes a sandwich of two pieces of 5/4 southern yellow pine and a mahogany accent strip in the center, then uses a router to shape the profile. After the railing assembly is in place, Lanza wraps the newel posts to finish them. This article includes sidebars on how to calculate evenly spaced balusters and how to hide fasteners.
In my business, I wear a bunch of hats, including that of finish carpenter. Building stairs is a nice mix of design and build, and it’s a challenging job. This particular railing was for a set of housed-stringer stairs that I built. Most manufactured railing parts tend to have a formal, slightly generic look. They are readily available, but they aren’t particularly cheap. If you don’t work with them often, they aren’t always easy to install. I try to avoid them because stairs and rails are one of the great opportunities to express the character of a house. While I want my stairs to have character, my own character tends to be lazy and cheap, so I’ve come up with a few ways to use everyday lumber to make distinctive railings that aren’t any more work and don’t cost any more money than most manufactured systems. The railing shown here is made from dimensional yellow pine. It took me about three days to build and cost approximately $100.
Plan your new stair railing on paper first
I wanted the balustrade to have the same clean, unadorned look as the staircase. Square balusters and posts would support a handrail with a simple profile. The lack of detail also meant that the balustrade could be built on site easily.
On a project like this one, I start by drawing an elevation of the stairs in CAD. Because I’m making all the parts, I keep the stair design as simple as possible. All handrail sections are straight post-to-post runs, with no drops or goosenecks. The handrail heights are determined by code, which specifies 34 in. to 38 in. above the sloped plane of the tread nosings. For landings, the railing must be at least 36 in. above the finished floor. Making a drawing also allows me to plan other elements newel posts, for instance, which should be located so that the line of the handrail flows squarely through them with equal post reveals above the rail. Posts also need to be solidly mounted to the landing, floor, or stair stringer. Because the posts are built up, my goal is to locate them in a place that won’t require floor excavation or bolts…
For more photos, drawings, and details, click the View PDF button below:


