Getting Green without Going Broke
In the last decade or three, the importance of saving energy has hit home. But for many homeowners, this awareness has come with a price: The nagging feeling that if you don’t whip your house into airtight, energy-sipping, good-as-green shape right now, you’re not doing your part. Fact is, an all-at-once deep energy retrofit that cuts energy use 50% to 90% can cost $130,000 and up.
The good news is that you don’t have to get green all at once. With planning, patience and paying as you go–rather than going into hock–you can lower utility bills incrementally and feel good about the progress you’re making. It’s still a green path, it just meanders a bit more.
The nine steps below are a logical progression–which renovations rarely are. So if your home has a pressing need, tend to that first and as you do so, try to find solutions that will improve the energy profile as well. In the remodel described in last week’s posting (“The Art of Reverse Renovation”), the homeowners had a drafty house with asbestos siding. After stripping the siding, they built up 2×4 studs into 2x6s, sealed air leaks, and insulated–all from the exterior. Which, in turn, meant that interior finish surfaces were undisturbed.
Prioritize Your Spending: 9 Steps to Get Green
Step 1: Get an energy audit. A thorough energy assessment is essential because it’s a specific analysis of your house. Using diagnostic equipment such as blower doors, duct blaster fans and infrared cameras, audits can pinpoint where heated or cool air is escaping. If mechanical ventilation is needed, an audit will note that, too. After the inspection, you will get a report that includes the home’s energy rating, along with an estimation of annual energy use and costs. The report will usually recommended energy retrofits and their costs, as well as the potential annual savings and probable payback times for each improvement.
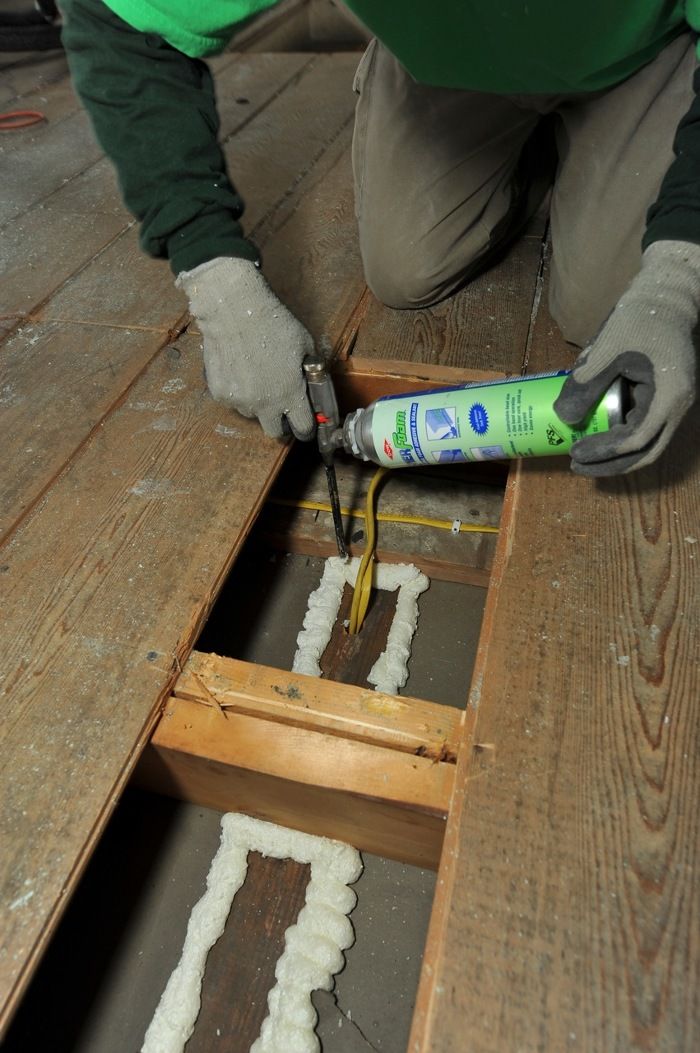
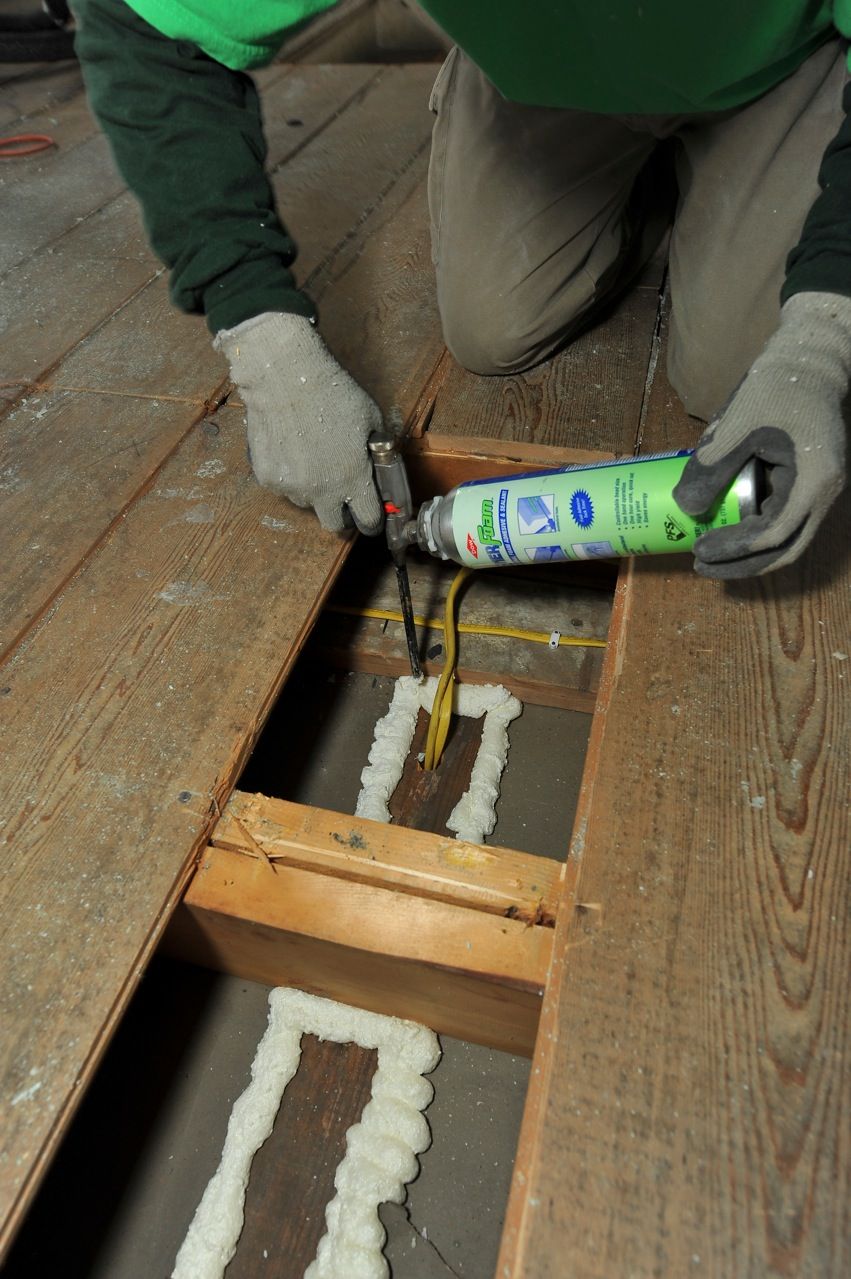
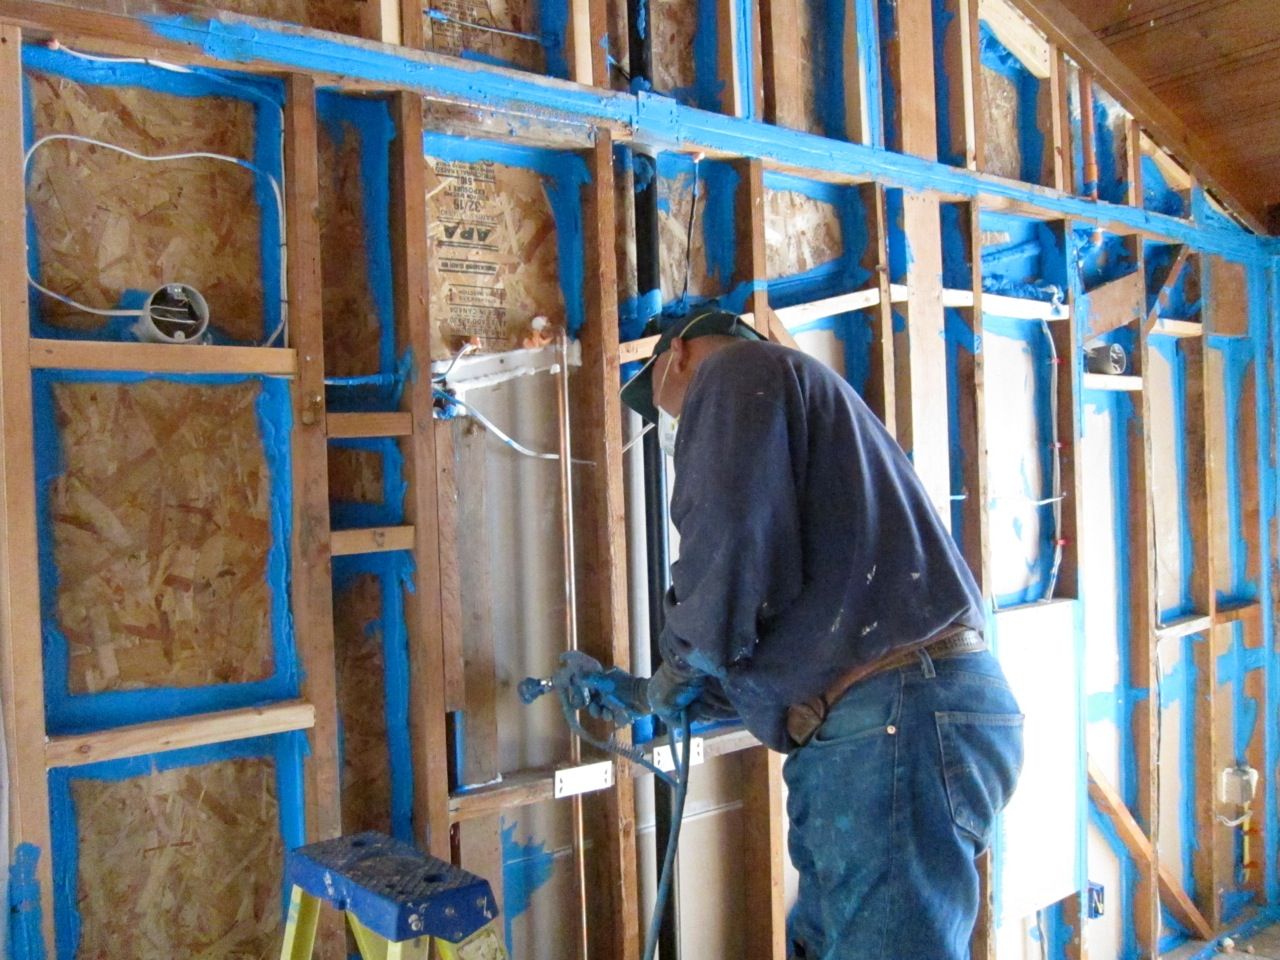
Step 2: Seal air leaks. It has been estimated that up to 30% of the heat loss in some houses is due to leaks in the thermal envelope, so air sealing should always precede insulation. In a gut renovation when the sheathing is exposed it’s a straightforward task to seal building seams and openings. In a selective retrofit, an audit is invaluable in tracking down elusive leaks, such as gaps where drywall panels don’t quite meet, under or over wall plates, around the perimeter of the attic, and around openings for electrical outlets or plumbing penetrations.
Step 3: Add or upgrade mechanical ventilation. Once you’ve cut infiltration by sealing air leaks, stale air may build up inside the house. This problem can be remedied inexpensively, however, by adding a whole-house exhaust fan not much bigger than a standard bathroom fan and a few passive intake vents. The only downside of this solution is that it draws unconditioned air into the house, which will need to be heated (or cooled). The solution to that waste of energy, a somewhat more costly and complicated fix, is incorporating a heat-recovery ventilator (HRV) into the house’s HVAC ductwork. An HRV uses the heat of stale exhaust air to temper fresh incoming air.
Step 4: Insulate, starting at the top. Because hot air rises, few energy retrofits are more effective than insulating an attic or roof. If you need a new roof, stripping it and installing rigid foam panels before re-roofing is a pricey but premium route to take. If you want to convert the attic to living space, spraying foam to the underside of the sheathing is a viable and less expensive way to insulate from the inside. But if your attic is unfinished and accessible, blowing in cellulose is hands-down the most cost-effective way to go–after you’ve sealed drywall gaps, pipe chases, electrical penetrations, the framing around the chimney and so on. Especially in cold climates, more is better: Roughly 17 in. of blown-in cellulose will get you an R-60 attic floor.
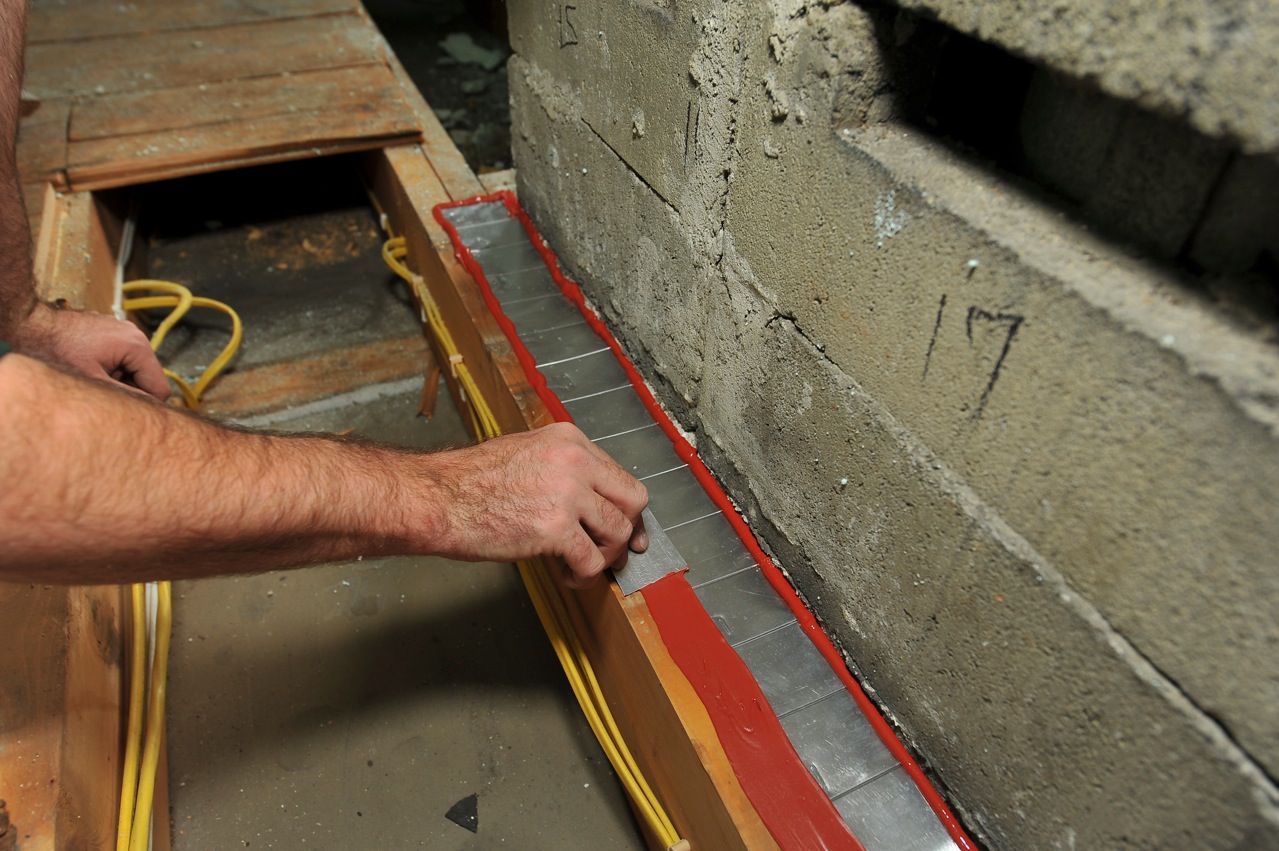
Step 5: Insulate inside the basement. Basement walls are an easy energy retrofit because they’re accessible. Insulating rim joists and basement walls is worth the money in the Cold Belt; less so in sunny climes unless you want to convert the basement to conditioned living space. In either case, correct moisture problems first. If you can’t afford to insulate the walls, do insulate the rim joists. To insulate basement walls, use rigid foam panels. Heat loss through floors is negligible, so insulating them makes little financial sense unless you intend to install a finish floor over the concrete.
Step 6: Upgrade wall insulation. If you’re gutting finish surfaces and exposing studs, insulating walls is a romp. Dense-pack cellulose and fiberglass batts are both efficacious. More often, older homes have some wall insulation, but it has settled or was never installed uniformly. Blower-door and smoke-stick testing, and thermal imaging can show cold spots that need air-sealing and supplemental insulation. Typically, insulation is added by prying up siding, drilling holes in sheathing, blowing in dense-pack cellulose or injecting foam, plugging holes and restoring siding. It can be cost-effective, but takes great skill to do a thorough job that doesn’t look piecemeal.
Step 7: Replace or upgrade windows. Replacing all single-or double-pane windows with high-efficiency, full-thickness (1 3/8 in.) triple-pane windows is a huge expense: installed, new units cost $900 to $1,200 each. Homeowners without tens of thousands of dollars on hand might choose instead to replace one wall of windows at a time or, yet more frugally, to weatherstrip existing windows and then install low-e storm windows. Good-quality storm windows can achieve about half the U-factor of new windows at roughly one-sixth the cost.
Step 8: Upgrade your heating system. Compared to the cost of replacing windows, installing a 92% AFUE (annual fuel-utilization efficiency) furnace for $4,000 to $6,000 seems like a bargain. It’s not higher on the list because without improvements to the thermal envelope you’re not making the most of the investment. Further, by tightening the house you can reduce the size of a new furnace or boiler. If you want to save money beforehand, seal leaky ductwork, guided by the duct-blaster testing of your energy audit. Sealing and repairing ducts is relatively cheap–$300 or $400-and in winter months can save up to 20% of utility bills.
Step 9: Install renewable energy devices. A solar panel or some other renewable-energy device may be part of your new HVAC system. More commonly in retrofits, solar hot water or photovoltaic panels that generate electricity can supplement an existing system. Incorporating renewable components into existing HVAC systems can be a costly and complex undertaking but, presently, there are a number of federal and state incentives for renewables, including energy-efficient mortgages and financing. Passive solar designs reduce energy costs by taking advantage of solar energy. Although the basic ideas are fairly simple, putting them into practice can be complex, requiring the help of a design professional.
Renovation 4th Edition: 30 years in the works
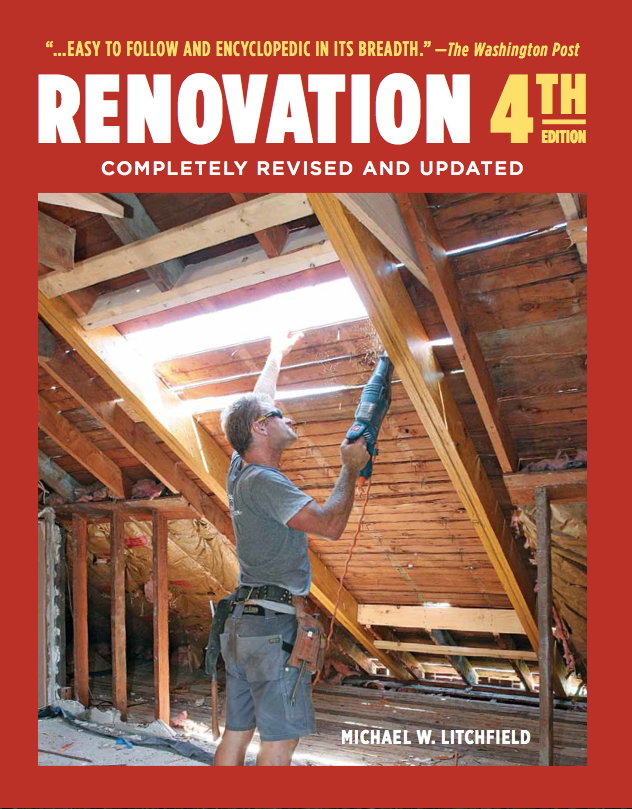
This 9-step guide is excerpted from Renovation 4th Edition, just released (October 30, 2012) from Taunton Press. Renovation 4 is the culmination of three decades of on-site interviews with talented contractors and tradespeople across North America. Its 600+ pages are full of first-hand, field tested solutions to common (and not so common) renovation tasks; it covers remodeling from planning to finish surfaces and is as complete as one homely man could make it. Its 1,000 photos were gleaned from more than 40,000 that I’ve taken over the years, and it has more than 250 illustrations.
© Michael Litchfield 2012
Fine Homebuilding Recommended Products
Fine Homebuilding receives a commission for items purchased through links on this site, including Amazon Associates and other affiliate advertising programs.

8067 All-Weather Flashing Tape

Affordable IR Camera

Reliable Crimp Connectors







View Comments
Thanks for this post.you might be interested in checking out fine luxury homes by Brejnik Fine Homes (www.brejnik.ca). They build fine luxury houses. Brejnik team consists of qualified and trusted: Architects, Interior Designers, Appraisers / Lenders, Trades & Suppliers, Geo-technical engineers, Structural Engineers, Arborists, Landscape Architects, Pool & Water Feature.