Cabinet-Door Shoot Out Series: Cope-and-Stick Joinery
Two pros go head-to-head and build their own versions of the perect door
Most modern cabinet doors use this construction method because it’s fast and consistent.
Video Transcript
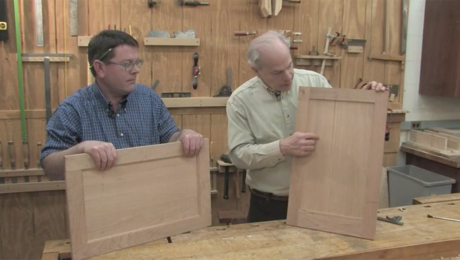
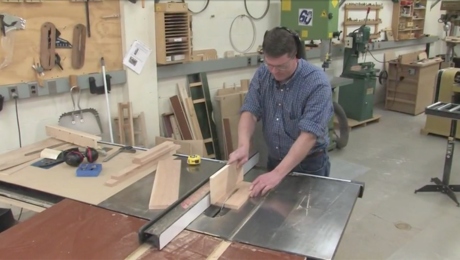
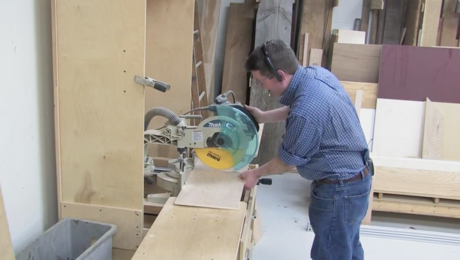
Scott Gibson: We both cut the stiles and the rails basically the same way. One difference is that the bottom rail on my doors is wider than the top rail. Joe’s are the same width but they’re basically produced the same way. I’ll get both of the rails out of this board and both stiles out of this one. So they’re squared off and cut to length first; that guarantees that the parts are going to be the same length and the door should be square.
I’ve got the reference edge here I know that’s jointed square to this. I just set up the fence and make the cut.
Joseph Lanza: For the rails and stiles I used basically the same process as Scott. But Scott cuts a 2-in. rail and stile. I use 2-3/8-in. because the joint is 3/8-in. deep on this router-bit set and I can subtract 4-in. from the width of the door to get my dimension for the rails. We’re building a 15-in. door; I have an 11-in. piece that I’m going to rip two rails out of.
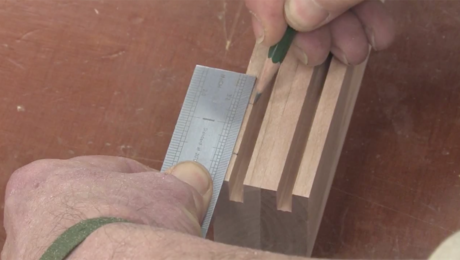
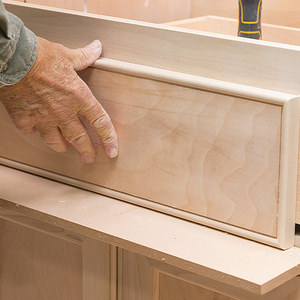
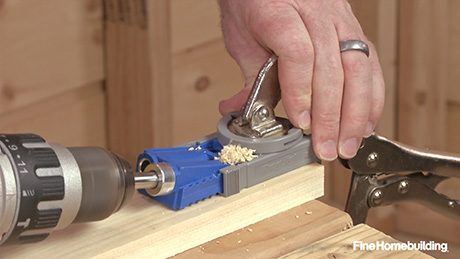
Where Scott’s door is held together by a mortise and tenon, mine is held together by a cope-and-stick joint that’s cut with the router. The first step is to set up the bit to cut the cope on the end of the door rails. The setup is determined by the bit set that you have. Here we have a round-over thumbnail bit. You want to make sure the round over ends up back far enough from the face of the door that you see a shadow line, and when you sand the door you don’t lose that detail. The other thing to watch out for is that you leave enough material behind the panel to hold the door together. You want to line the fence up so that it is flush with the bearing guide on the router bit. You get it in the ballpark, clamp one end and once you have the fence lined up with the bearing you’re all set and ready to cut.
Now that I have the bit set up and the router is in the bale I’m going to run a test piece to use to fit the joint. To back up the cut I’m using a piece of 3/4-in. plywood that I cut square. That’ll ride against the fence to back up the piece that is being cut and help prevent tear out. We’re going to start by making the cope cut on the door rails. Now that we have the rails coped and the test piece cut, it’s time to change the bit.
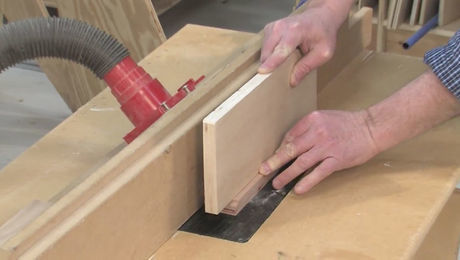
First thing you do is unplug the router. Once you have the bit securely in, line up the straight cutter on the bit with the stub tenon on the end of your cope rail because they’re both 1/4-in. by 3/8-in. and when you have the bit at the right height you can then route the test piece and make sure it’s aligned perfectly and then go on and route all of the pieces. With this sticking bit the guide bearing is on the top rather than between the cutters. Again you want to line it up flush with the fence. Once the fence is clamped in you want to run your test piece through. The cutter should just take away that little piece of tenon and leave a clean cut on both sides. You can see where the sticking bit cut away the tenon right where it lines up; then we can test the test piece with one of the real door rails.
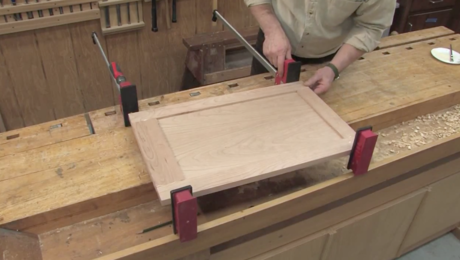
With the test piece cut and fit it’s time to mill both the rails and the stiles. Usually I run the rails first. You want to make sure you have the piece oriented the right way. That’s it – you run all of piece through the sticking cutter, and there’s your door. Unlike Scott’s you can’t put it together without glue and try to pick it up.
Read the Cabinet Door Shoot-Out companion article for more information about building these doors.
