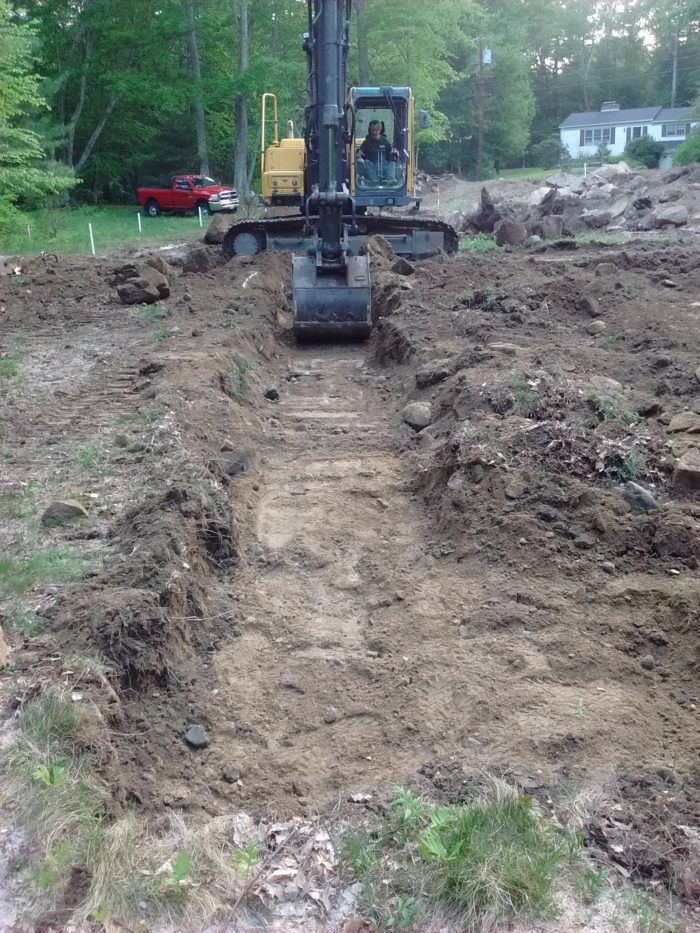
Mat, the excavator, came by one evening after dinner. As May turns to June the daylight lingers until 8:45 pm. So we were able to rough-in the main house footing trenches. Mat dug just deep enough to remove the top soil and any unsuitable earth. Along the east side that meant 18 inches of digging. On the west side only 6 in. We worked until 9 pm and planned to return Saturday morning to lay 3/4 in. crushed stone as a base for the concrete footing.Friday evening I reestablished the primary corner points of the building and ran string lines to check how well we positioned the trenches. Along a couple lines, the trench bank crowded the footing position so I hand dug the clearance space. Then I did a quick rake-out of the loose subsoil so the stone would be placed on solid earth.
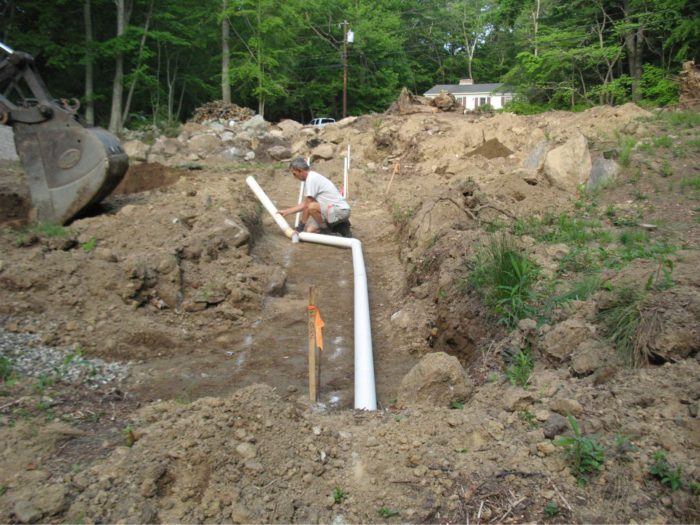 While Mat began bailing stone into the trench on the south and east sides, I ran a 4 in. pipe along the outside edge of the footing line on the north side as a contuit for the well line later on. This extra work will save us from digging 35 feet of trench later. We were already down about 2 1/2 feet below final grade at the northeast corner, so we’d only have to dig another 18 inches to get below frost depth once the well line extended past the house perimeter.
I placed a 45 degree fitting at the end of the pipe so it could cross the stone beneath the footing and another 45 to raise the pipe above the slab level.
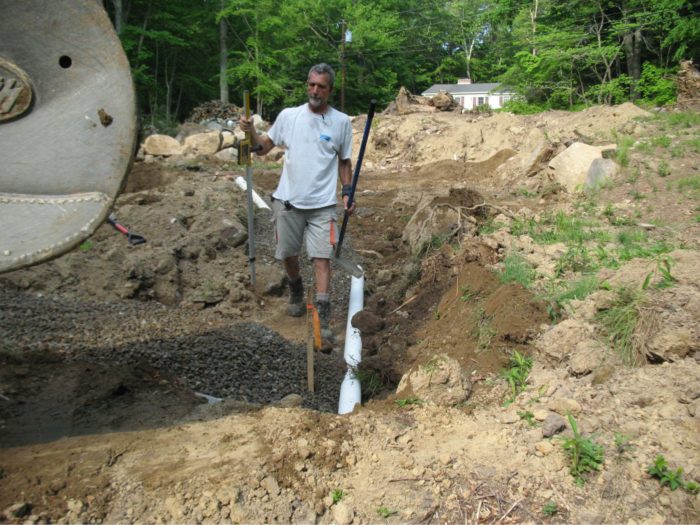 While Mat bailed more stone into the footing trench, I kept checking the laser receiver to see that he was keeping a fairly level grade. He could sprinkle an inch or two with the bucket as accurately as I could do using my hand. A quick pass with a rake set the final elevation.
The lot has a slight slope in the area of the house so we picked points along the north and south trenches to change the elevation of the crushed stone. There was an overall elevation differential of 18 in. between the highest point and lowest point in the trenches, so we made the grade level change 9 1/2 in. to match the boards I’ll be using to form the footings. That way the upper level form boards can just rest on top of the lower level boards where the drop occurs.
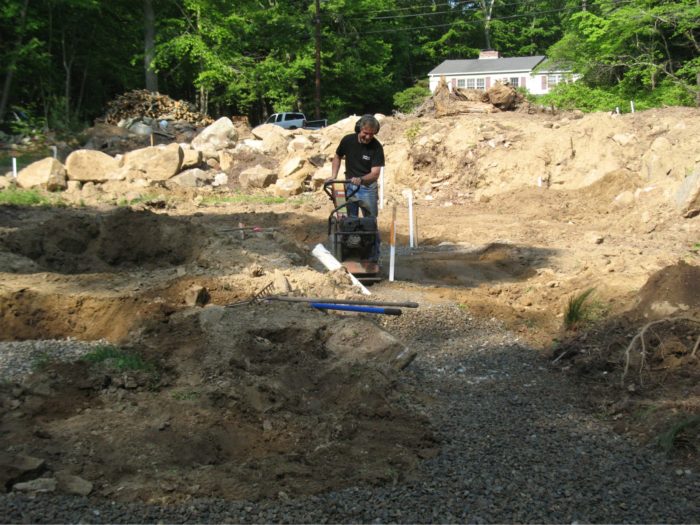
After the trenches were full and close to level, Mat dropped his compactor into the trench and ran over the stone a couple times to ensure uniform compaction. I worked ahead of him filling in any voids between the bank of the trench and the edge of the stone to avoid having the stone creep laterally.
In less than 2 1/2 hours we’d filled, graded and compacted 100 ft of trench. The last 45 minutes Mat spent scratching out the area for the garage footings. Since the garage foundation area would be backfilled inside and out there was no need to install crushed stone, so the work went fast.
Fine Homebuilding Recommended Products
Fine Homebuilding receives a commission for items purchased through links on this site, including Amazon Associates and other affiliate advertising programs.

Not So Big House

All New Kitchen Ideas that Work

Musings of an Energy Nerd: Toward an Energy-Efficient Home










View Comments
i know for a fact that this project is off to a great start. Keep it up FHB. lates
It really doesn't make any difference if you think what you have done is correct - most jurisdictions that have professional codes inspections require that a testing agency test both the subgrade density and compaction AND the completed layer of crushed stone for the same level of compaction. And the stone may have to be brought up in lifts. Let the testing agency take away any of the questions about correctness.
If I read the article correctly, the guys involved are setting footings at 6 inches with a frost line set at 4 feet. Most jurisdictions require footings be set on undisturbed soil at or below the frost line. I find it hard to believe "frost heave" isn't an issue with a frost line at 4 feet? Am I missing something or is this method a recipe for foundation failure?
Response to NPH2001
The blog has some background in the accompanying articles published in FHB so I neglected to point out that we are using a frost-protected shallow foundation along two walls. FPSFs have been permitted in the IRC for several code cycles and don't require that footings reach frost depth provided that the insulation requirements are met. The typical frost depth in RI is 40 in. but our footings will only be between 12 in and 20 in. below grade. Since the air-freezing index is only 1200 we are only required to insulate the face of the footing with R10 rigid insulation and are not required to install any wing insulation (flat panels extending beyond the perimeter of the footing).
I own 3 nearby homes built in the early 1960s and they all have walkout basements without any frost-depth footings along the walkout walls. The builders just used thickened slabs about 14 in tall. With over 50 years and no evidence of frost heaving along the walkout walls on the homes I have no qualms about using FPSFs on this new house - especially given that we are installing 6+ inches of crushed stone beneath the footings and insulating the face of the footings - things the 3 old homes don't have.
FPSFs have been used in Alaska and throughout Scandanivian countries for many years. It's surprising that the system is not utilized more in the lower-48.
For more information on FPSFs follow this link to guidelines developed by HUD and NAHB - http://www.homeinnovation.com/~/media/Files/Reports/Revised-Builders-Guide-to-Frost-Protected-Shallow-Foundations.pdf
I live on the coast of British Columbia, we are using this system often and being passed by CRD and Trust.