Sucking the Center Beam Plies Together
Fasten Master's FlatLOK screws draw Microllam LVL layers together
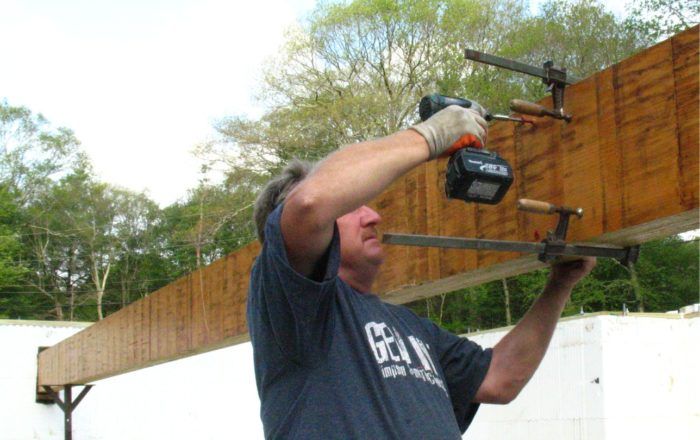
In order for a built-up LVL beam to function properly the plies must be socked tightly together with fasteners. On this job the center beam is a 3 ply Weyerhaeuser Microllam LVL. Weyerhaeuser’s fastening guide gives us a few options to connect the plies – nails, screws or through-bolts. While nails would be the fastest method, I prefer screws or bolts for long term stability and appearance. Moisture changes in a basement can cause even engineered lumber to move over time that can work nails out a little leaving small gaps between layers.
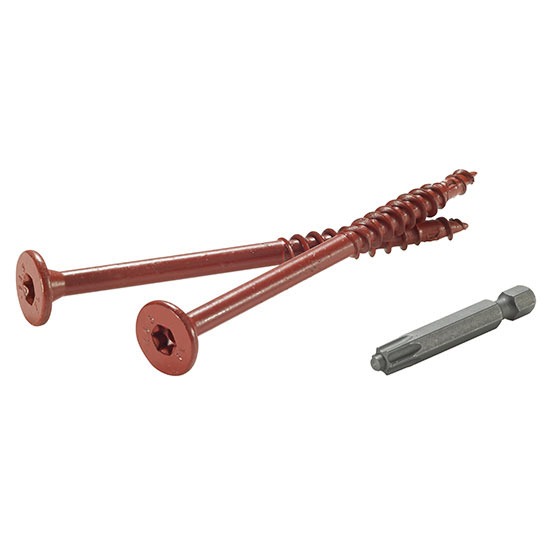 We used Fasten Master’s relatively new FlatLOK screws here. The screws have a broad flat head like their HeadLOK cousins and are designed specifically for attaching LVL plies and girder trusses together. Since the basement will eventually be finished, the flat profile head will make drywalling around the beam a snap – no need to pad out for fastener heads.
According to the Weyerhaeuser instructions, we installed two rows of screws spaced 24 in. apart. At each screw location Bruce clamped the beam plies together. It took a few seconds of spinning for the FlatLOK screws to bite into the dense LVL face. To speed things up, we struck one hammer blow to embed each screw tip into the wood fiber and then let the drill/driver do the rest.
Fine Homebuilding Recommended Products
Fine Homebuilding receives a commission for items purchased through links on this site, including Amazon Associates and other affiliate advertising programs.
Short Blade Chisel
Speed Square
Magoog Tall Stair Gauges















View Comments
I would put the long end of those clamps on the other side or work on the other side.
Smacking your head (been there) or eye on those ends is not a good thing.