Window-Opening Preparation
Protecting the rough opening helps with air-sealing and water management.
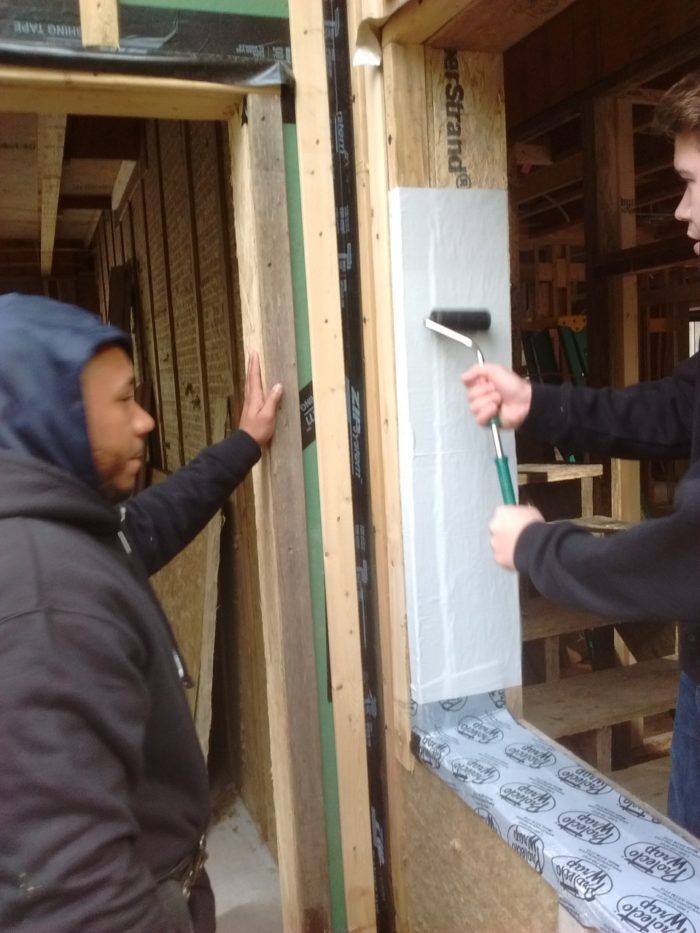
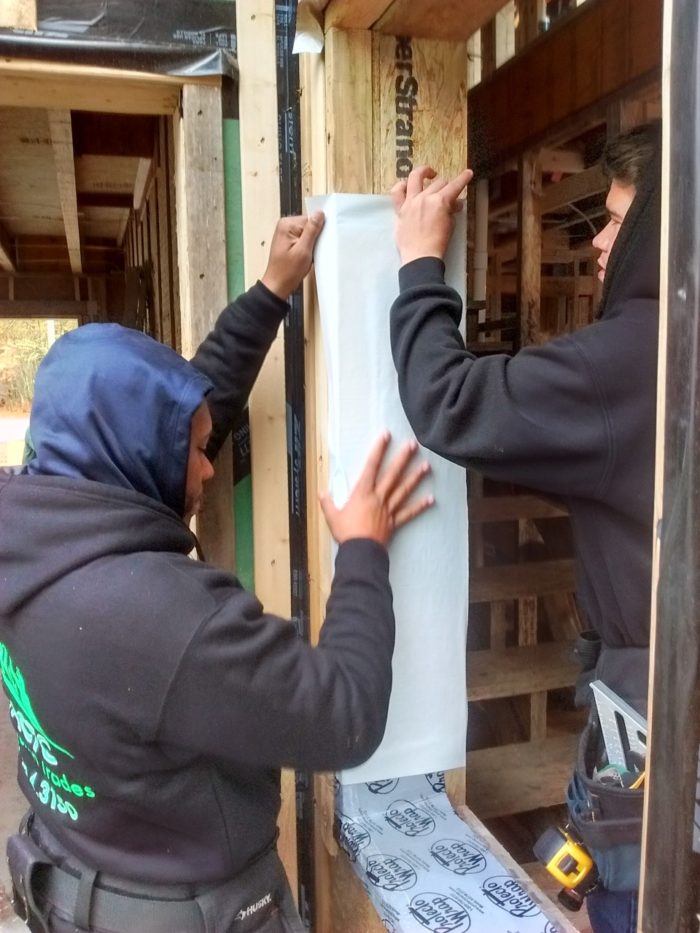
We’re taking a couple of extra steps to flash the window and door openings to help keep water leaks at bay and block air leaks. The first step is to seal the 2×3 window bucks to the Zip System wall sheathing; we did most of that work when framing the walls, as I mentioned in this post on the flashing sequence.
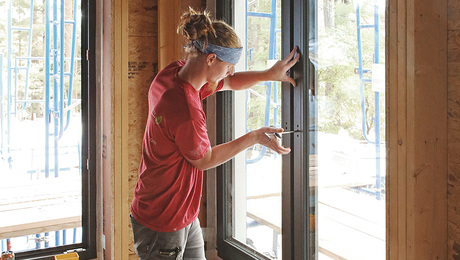
Now we’re preparing to install the Marvin Integrity windows, so the inside of the rough openings need to be addressed.
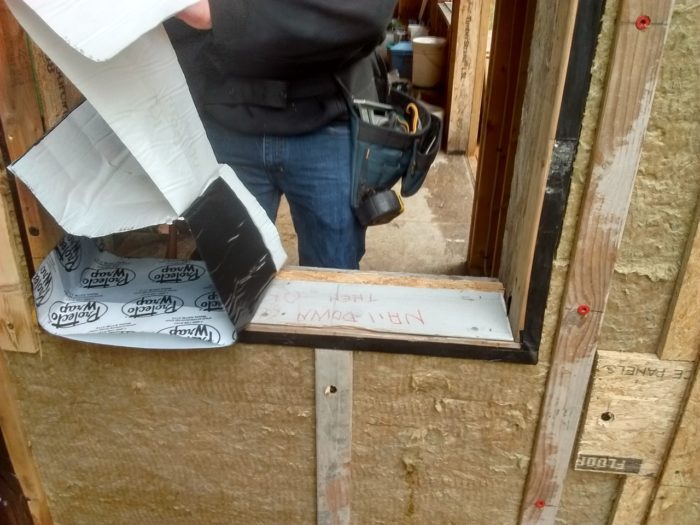
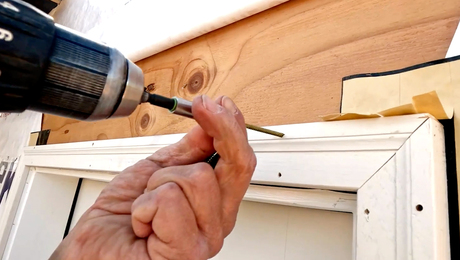
We installed a piece of 1/2-in. by 6-in. bevel siding — leftover cedar clapboard from another project — to the rough sill. The bevel siding slopes outward to drain water that may collect in the sill-pan flashing.
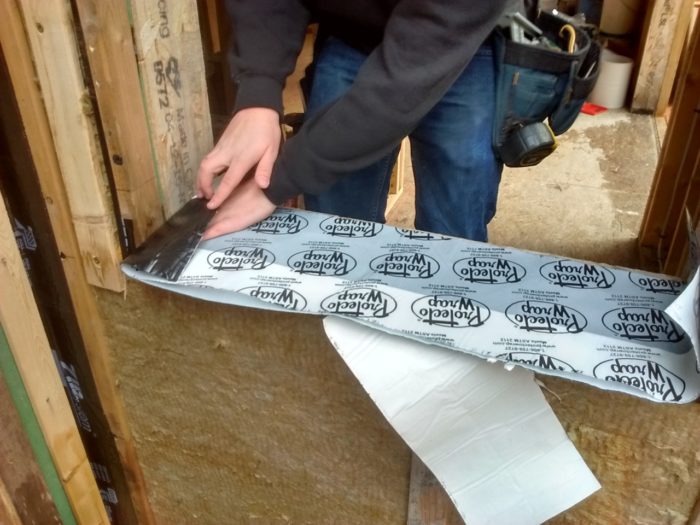
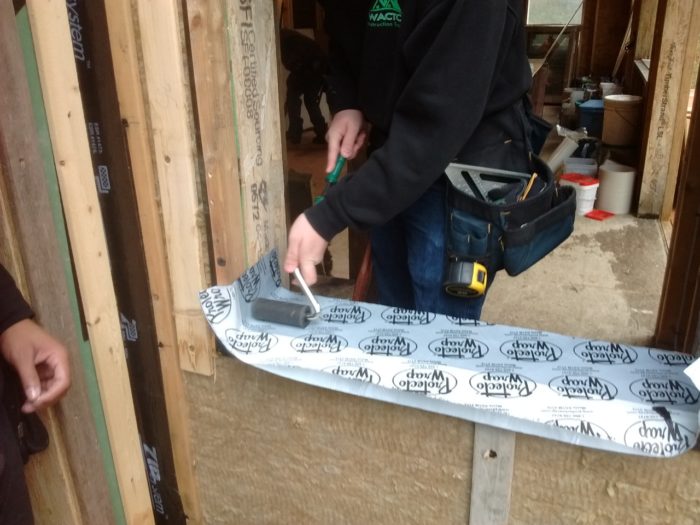
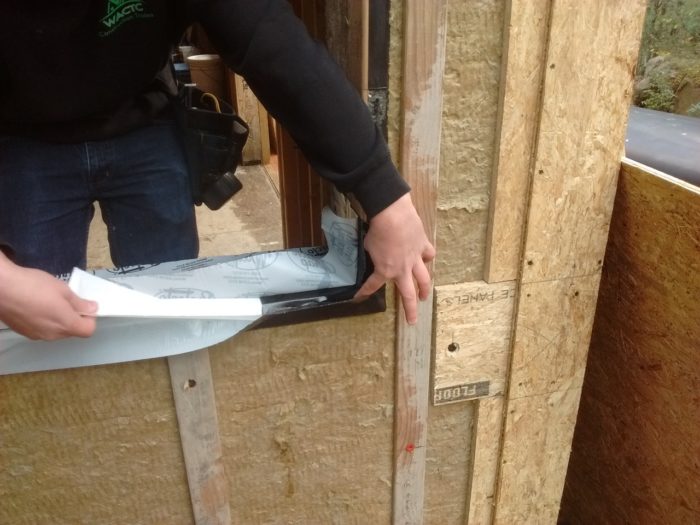
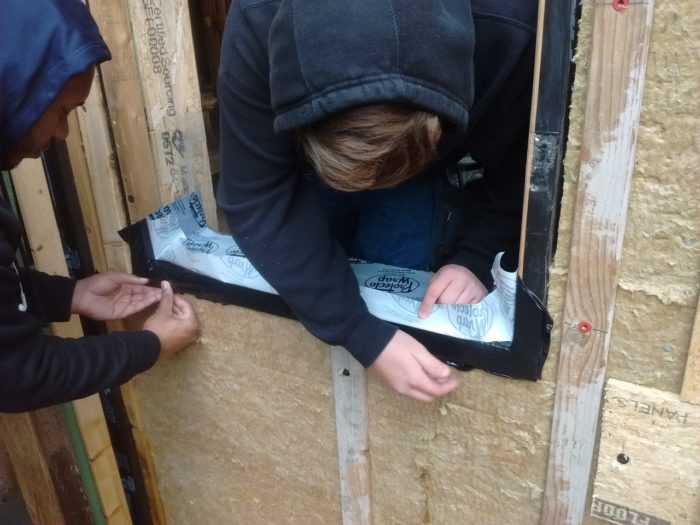
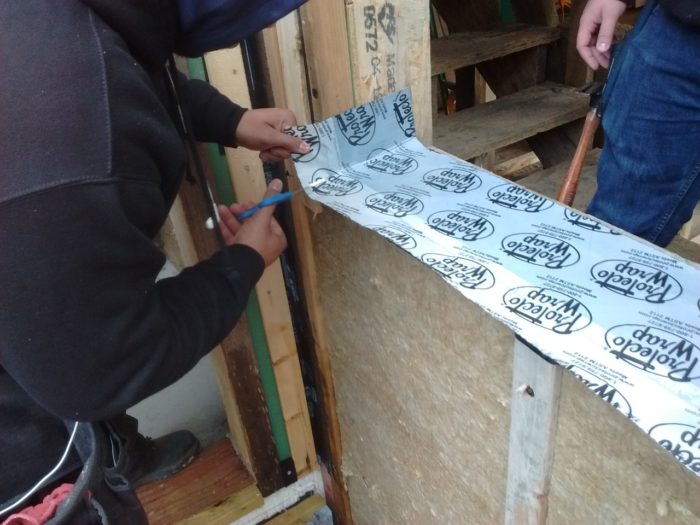
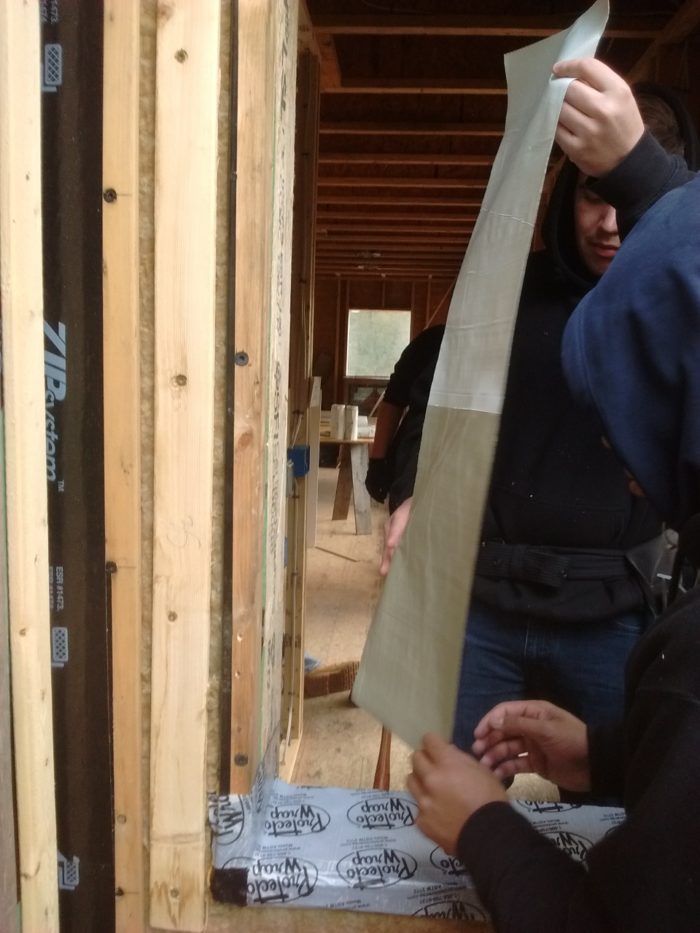
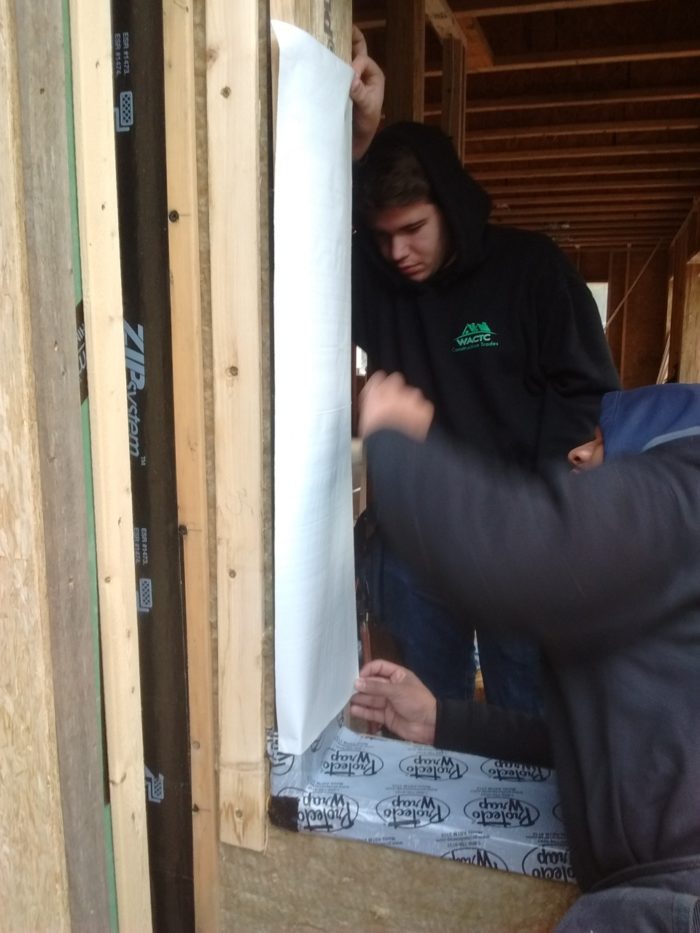
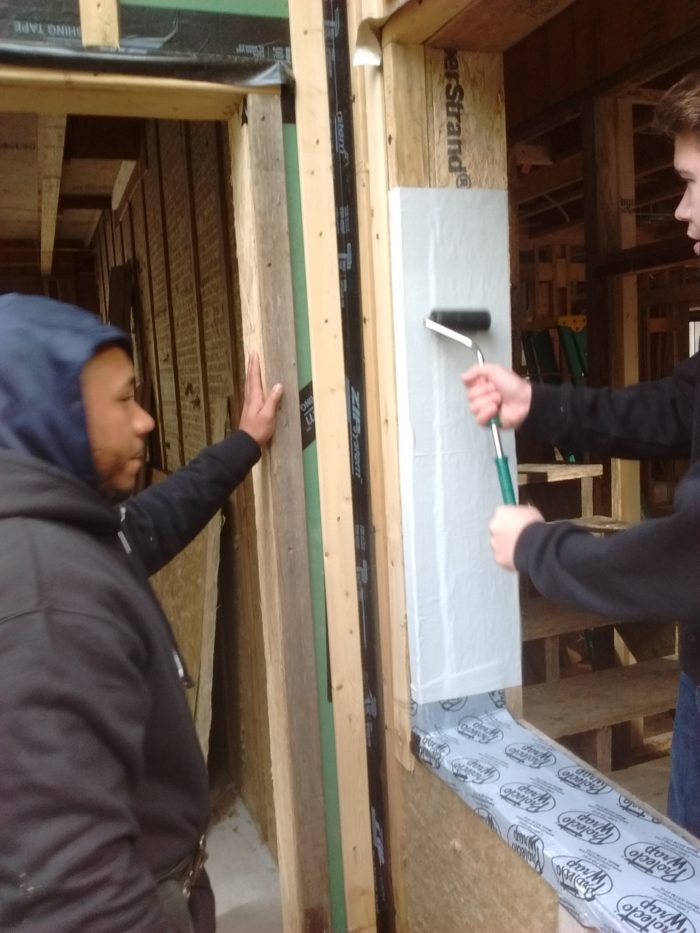
Matt and Cameron have been making flashing kits and flashing the openings for a couple of days. They cut the ProtectoWrap Sill Pan Flashing tape 12 in. longer than the rough opening is wide so the legs can wrap up the sides. Then they score the bottom strip of release paper about 2 in. in from the back edge so that it can be removed as separate strips at different times. This score-line corresponds to the back of the window sill once the unit is installed, where we want the pan flashing to fold up and form a back dam.
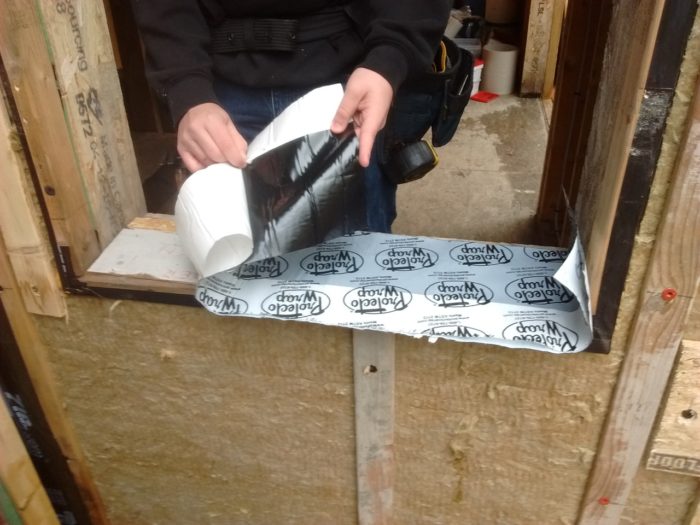
The ProtectoWrap tape is a unique; it’s a straight flashing tape and a flexible flashing tape in one. The aggressive adhesive layer is capped 2/3 of the way with a plastic film on top, and the remaining 1/3 is covered by a release sheet. When the release sheet is removed, the tape is sticky on both top and bottom and is flexible. This is the portion that flexes at the corner and folds down the face of the wall (or in our case, the 2×3).












View Comments
good work here