Window Installation
Plumb, square, sealed, screwed, and taped — these windows are affixed to the house for a generation to come.
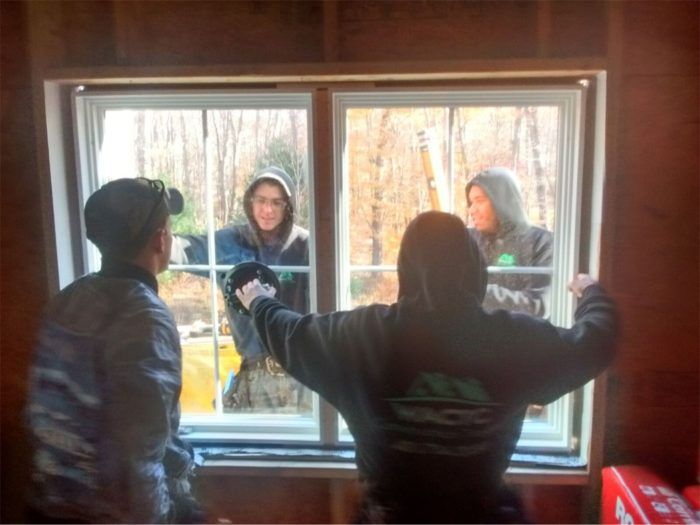
The Warwick CTC students have spent about a week installing windows for a couple hours a day. The process started with Bruce flashing the window bucks back to the Zip wall sheathing and then the students installing the sill pan flashing and RO jamb flashing. The window installation is just as meticulous.
We worked in three-person teams, with one inside person who passes the unit out, centers the window and then shims it level under the direction of the two outside workers. The outside guys check the windows for plumb, apply sealant along the sides and top, bed the flanges into the sealant, then screw the unit to the bucks. It takes 30 to 45 minutes to install and flash each Integrity window properly. This is in addition to the rough opening preparation we did earlier. 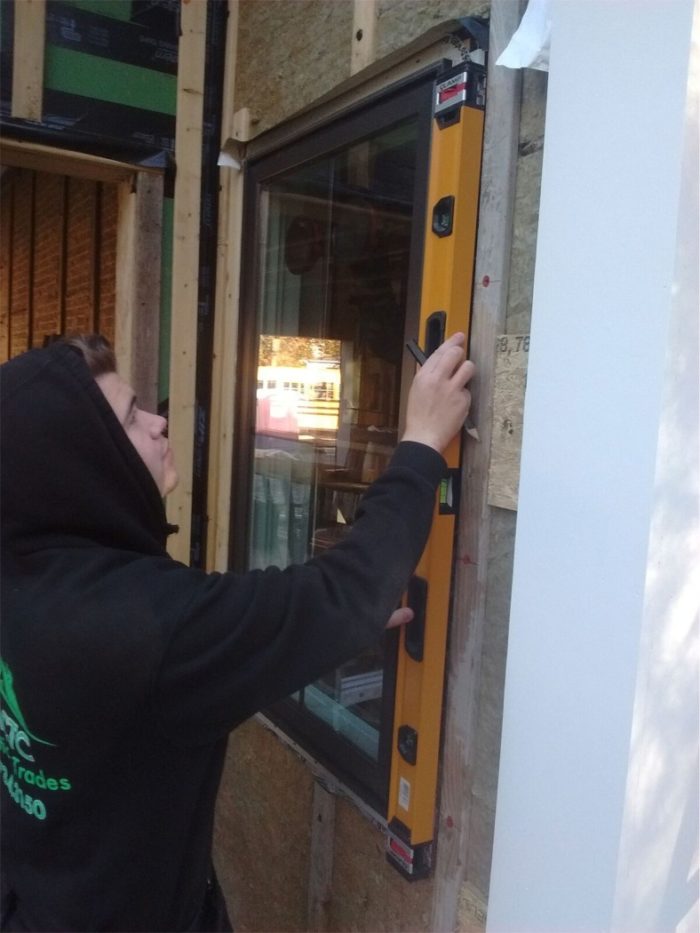
First the window is centered in the rough opening by the inside guy. Then the outside guys check for plumb and square. They instruct the inside guy to lift and shim if necessary. Very few windows needed any shimming as it turned out.
With the window plumb, square and centered, the outside guys draw lines along the two side flanges so the window can be quickly reoriented after the sealant is applied. 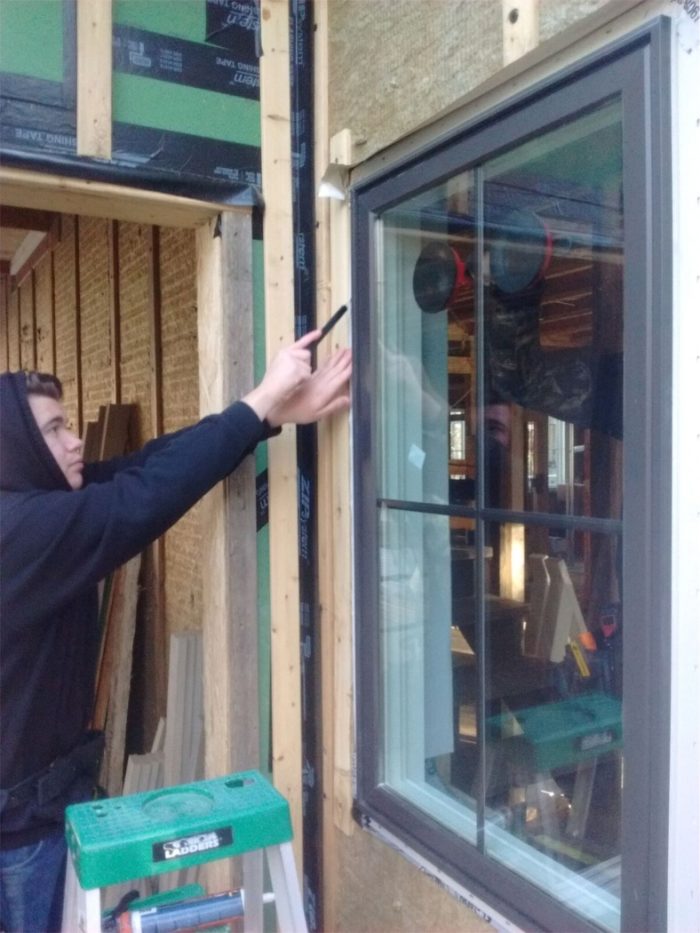 The inside guy tilts the window out about 8 in. at the top — enough for one of the outside guys to run a 3/8 bead of TiteBond Ultimate MP sealant along the top and sides of the 2×3 window buck.
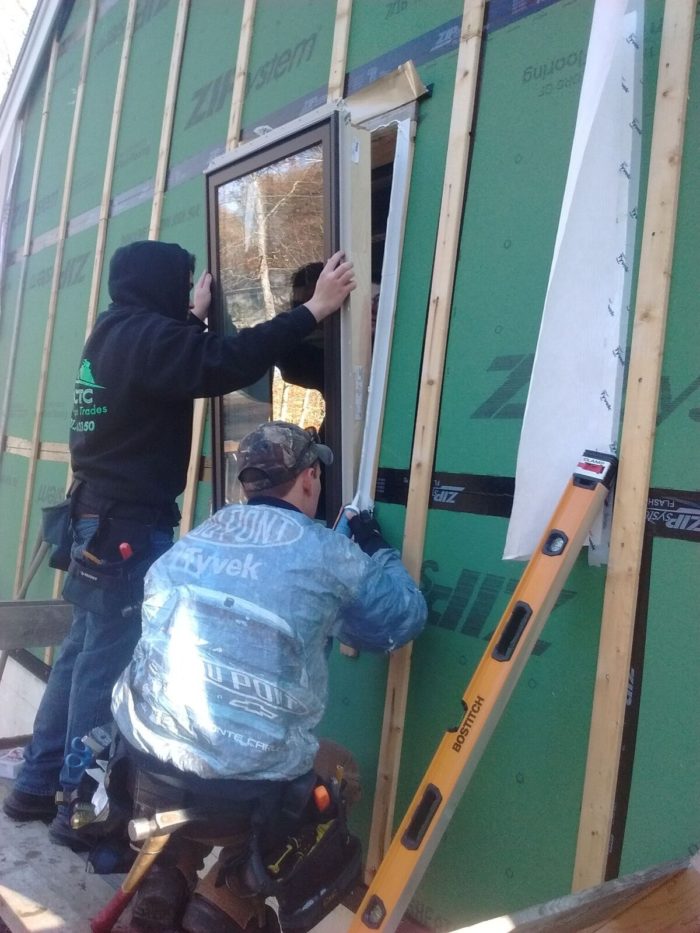 The other outside guy keeps a hand on the window as a backup to the inside guy. The bottom flange is not sealed so any water collected in the sloped sill pan can drain outward.
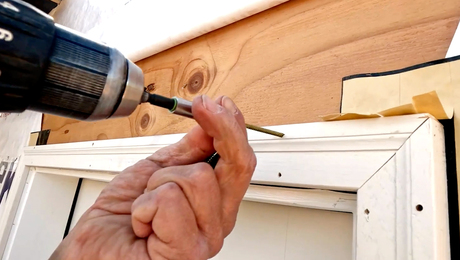
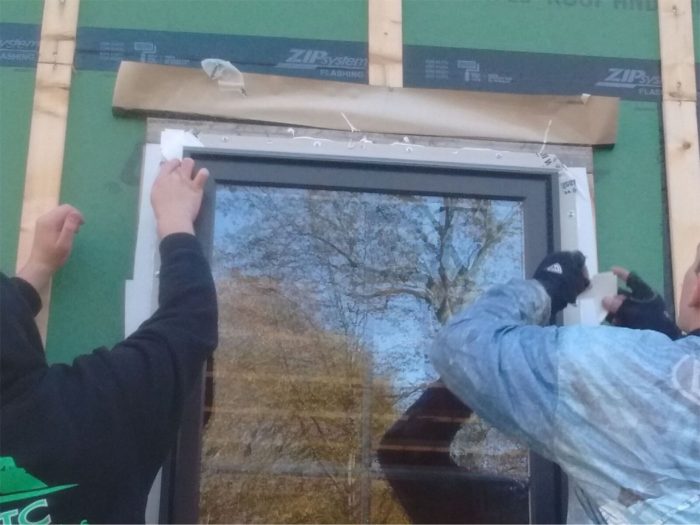
When the window is tilted back into the rough opening, the flanges are realigned to the lines and then screwed off. We used 1-1/4-in. galvanized pan head screws instead of the 2-in. roofing nails the instructions call for. Screws go in faster than the nails, and there’s less risk a poorly aimed hammer whack will damage a window frame. Since we are fastening directly to the 2x3s, I’m not concerned that the screws don’t penetrate as deeply as the nails would.
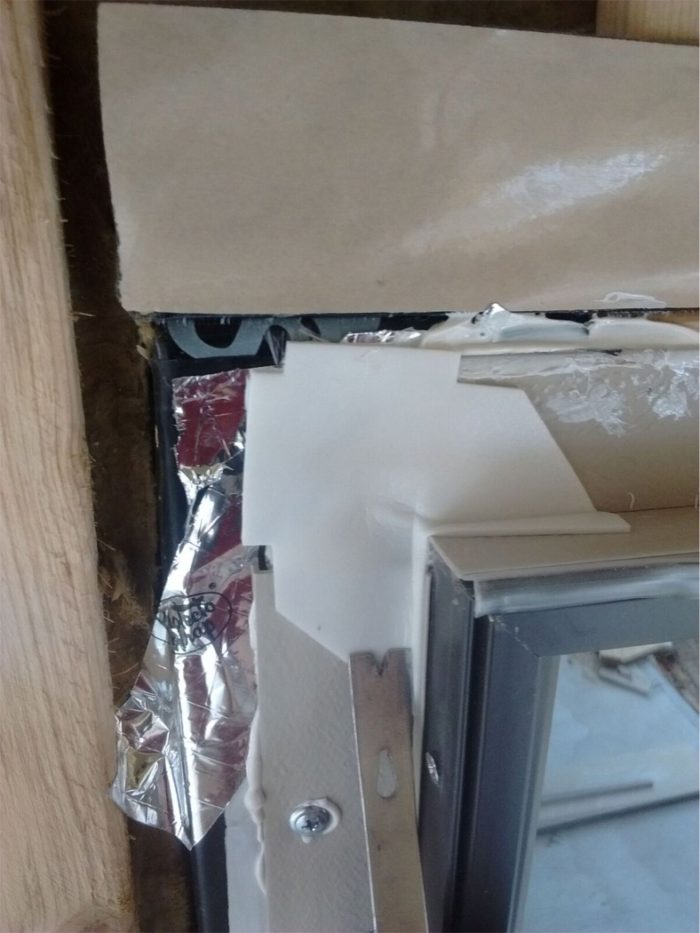
The four corners of the window flanges on the Integrity windows require a sealing patch. This is in addition to the backflashing step we took when preparing the windows for installation.
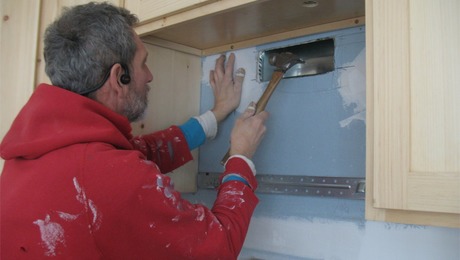
The adhesive foam pieces have to seal to the window frame and over the open corner of the flanges. We pressed the patch pieces in place with a mini flat bar to ensure good adhesion in the cold temperatures — low 40s / upper 30s.
A high-wind skirt strip of housewrap is taped over the face of the flange. It helps deflect any wind-driven rain that enters in the joint between the trim and protect the window from being blown behind the unsealed bottom flange.
ProtectoWrap’s SuperStick window flashing tape seals the window to the flashing tape applied between the Zip wall sheathing and the onto the face of the 2×3 window bucks. Integrity flanges are mechanically attached to the frame of the window, so the flashing tape must be bonded to the side of the window jamb by 1/4 in. to 3/8 of an inch.
The head flashing tape Bruce installed weeks earlier when he applied the Zip tape around the window bucks still had a strip of release paper along the bottom edge. We removed the release paper and folded the head flap down over the top flange and window frame.


