Students Master Cultured-Stone Installation
It only took a couple hours for students to pick up techniques for installing manufactured stone.
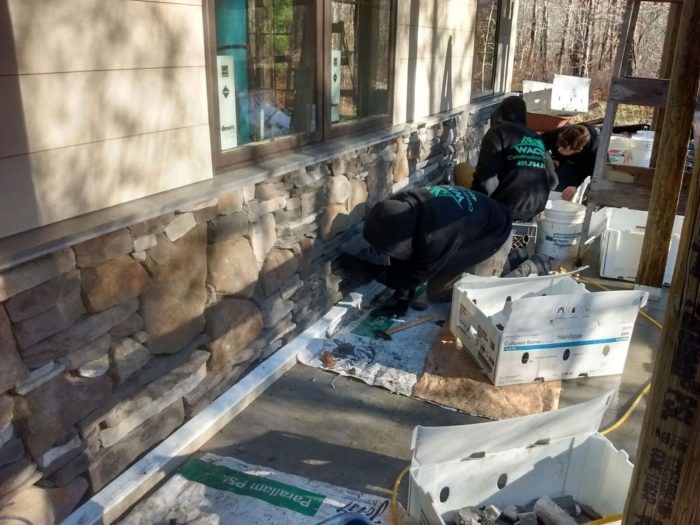
We’ve had five students installing cultured stone for the past four weeks. We developed a routine the first week where I’d do the prep because the students only had about 90 minutes to work on the site each day. When the students arrived each morning, they could go straight to work. I sprayed down the scratch coat with a hose so the dry mortar wouldn’t draw all the moisture out of the setting mortar. Then I’d mix half to two-thirds of a sack of mortar and let it slake for 10 to 15 minutes so that it was ready when the bus arrived.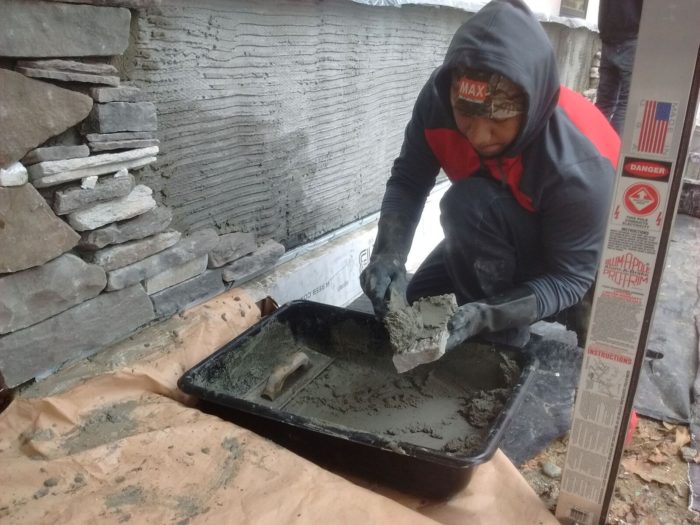
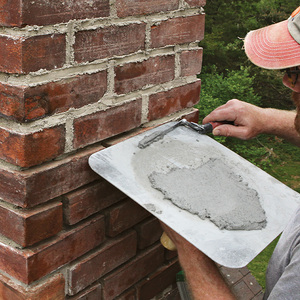
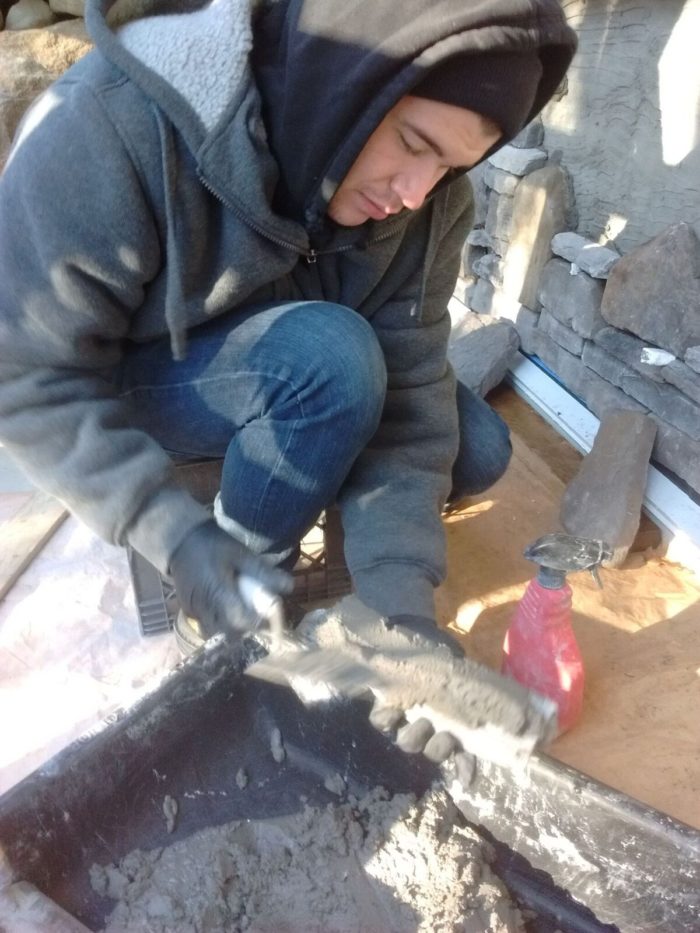
It didn’t take the students long to master the back-butter method of applying mortar to the back of the stones and then pressing them onto the wall. First, they misted each stone with a spray bottle, then spread mortar on with a trowel. Each piece was then pressed onto the wall and wiggled a little to ensure good contact with the scratch coat.
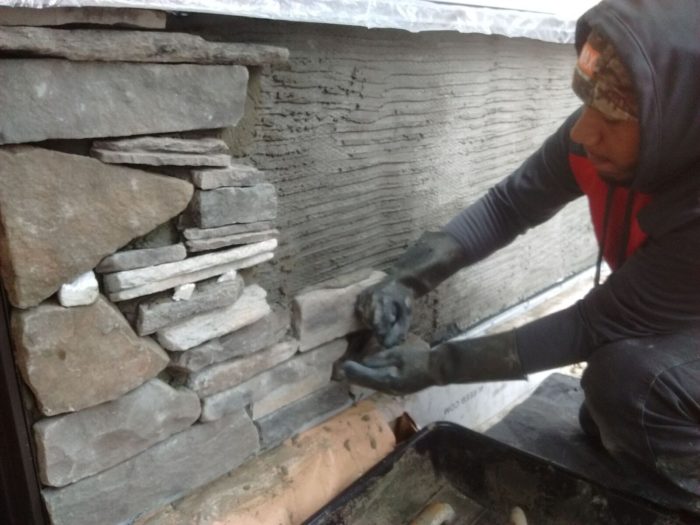
We started at the corner and ends of the wall sections and worked toward the center. There was plenty of room along roughly 40 ft. of wall for the students to spread out — each with his own mortar tub, trowel, stone tools, and milk crate to sit on.
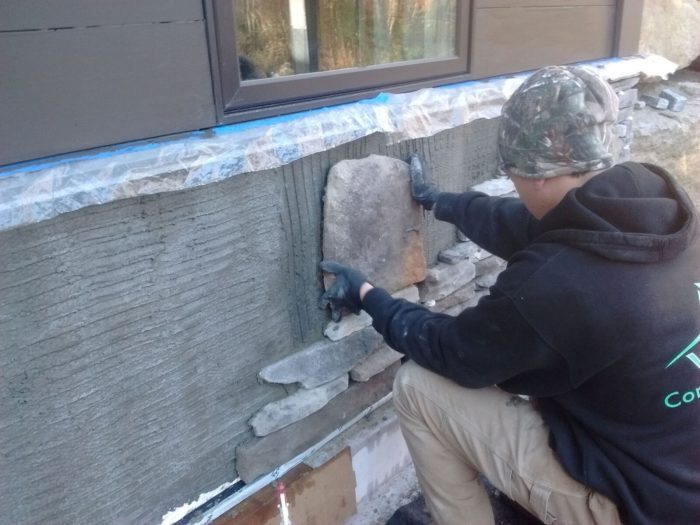
Mike Maines selected a blend of three stones. Two are ledge-stone types, and one is a field stone. He asked us to install them so that they would appear dry-stacked (ungrouted). The students randomly applied the stones in the proportions that Mike planned.
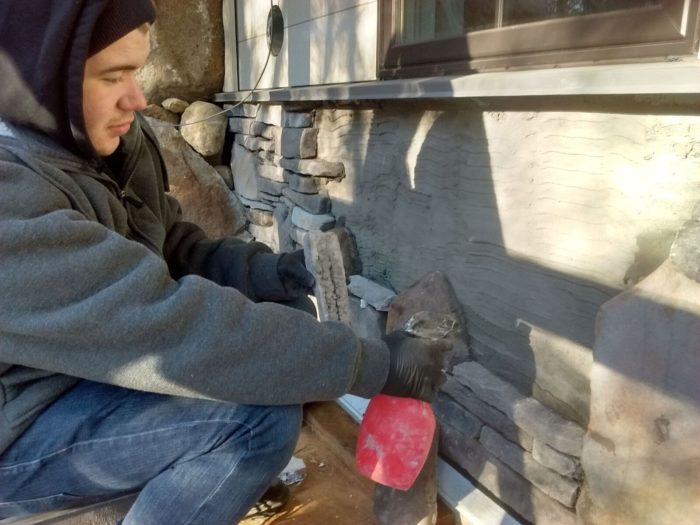
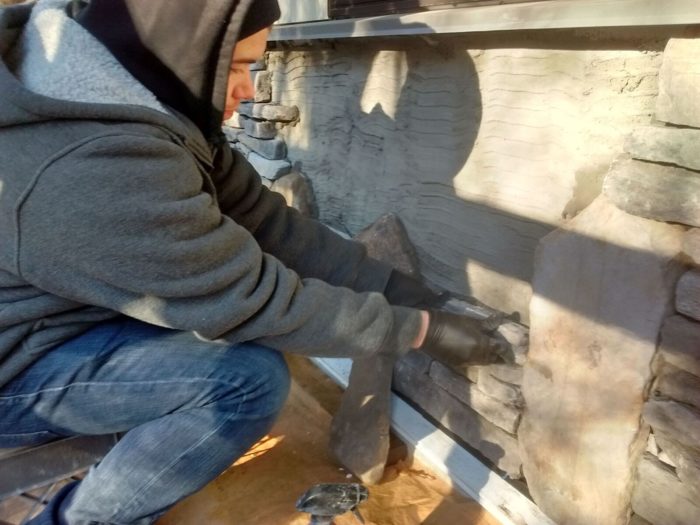
I had the students focus on applying as many full stones as possible and leaving voids unfilled on the first pass. Then, after the setting mortar had a couple of days to cure, the students scraped out any mortar that squeezed out too far. This helped enhance the dry-stack look. Then we used small natural stones to fill in the voids. The advantage of natural stone is that when we split and cut them, all faces still look natural. By contrast, cut cultured stone exposes the concrete matrix within, so the cut edges have to be concealed.
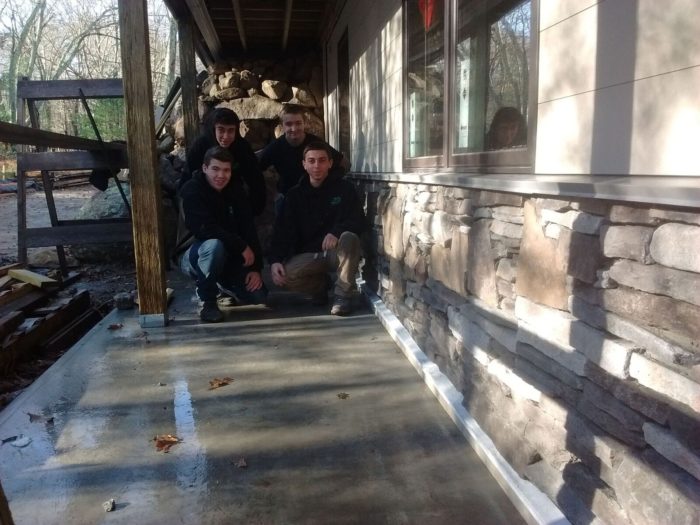
I was surprised how quickly all the students picked up on the installation techniques. They all had a good eye for selecting and fitting stones.
With the lower level complete, we’ll move on to the front of the house and garage areas.

