
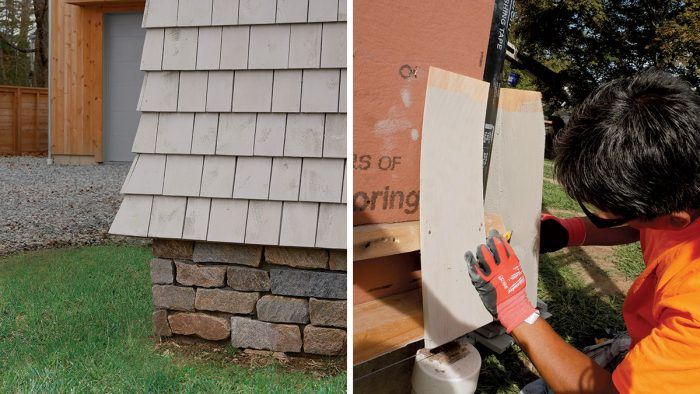
Sidewall Shingles With a Flare
A slight curve adds charm, and also a bit of complexity, to the process of siding with cedar shingles.
Synopsis: In much of New England, it’s common to find sidewall shingles installed so that the first few courses flare out. Builder Joe E. Filanowski Jr. details the process of installing flared shingles, from using backers to set the flared courses to weaving outside and inside corners. To see the technique in action, watch the companion video: How to Install Flared Sidewall Shingles
Here along the Connecticut coastline, cedar sidewall shingles have long been the go-to cladding for weathering the harsh storms and salt spray. Since this area still has lots of old homes, we try our best to build new homes that fit with that traditional aesthetic, so we’re no stranger to shingling. In this area, and much of New England for that matter, it’s also common to find sidewall shingles installed so that the first few courses flare out. It’s a handsome detail on a shingled house—and though it does add a layer of complexity to the installation of the shingles, especially at the woven corners, once you get the hang of the sequence, it isn’t much more complex than a standard shingling job.

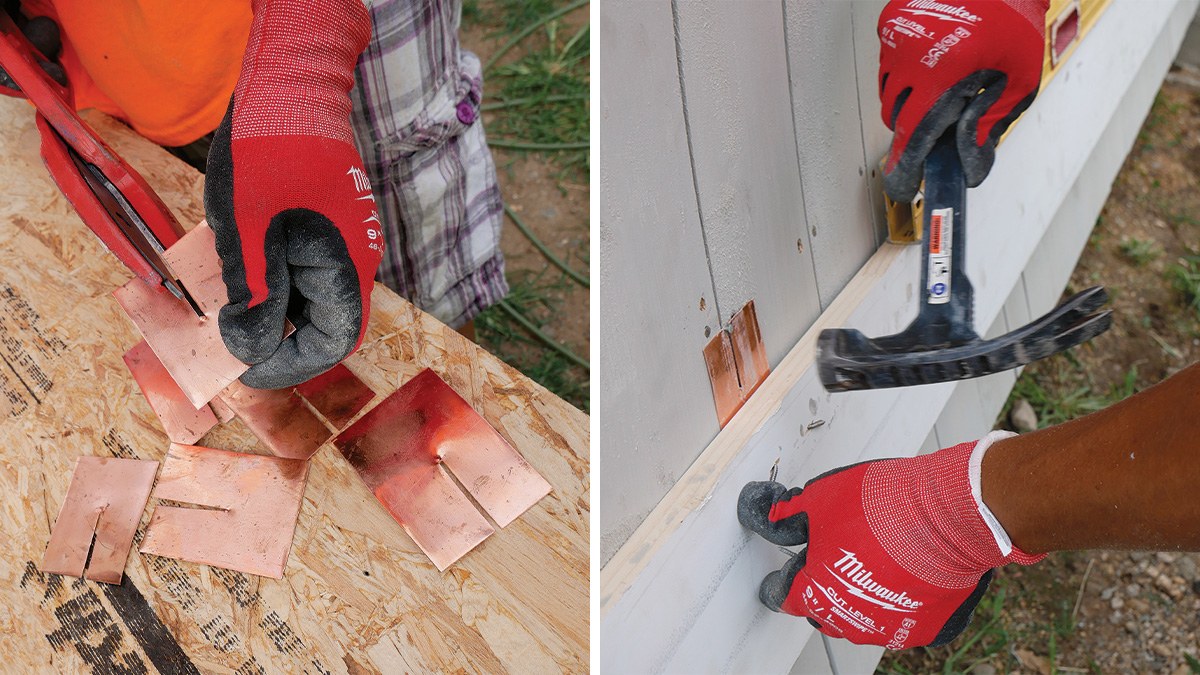
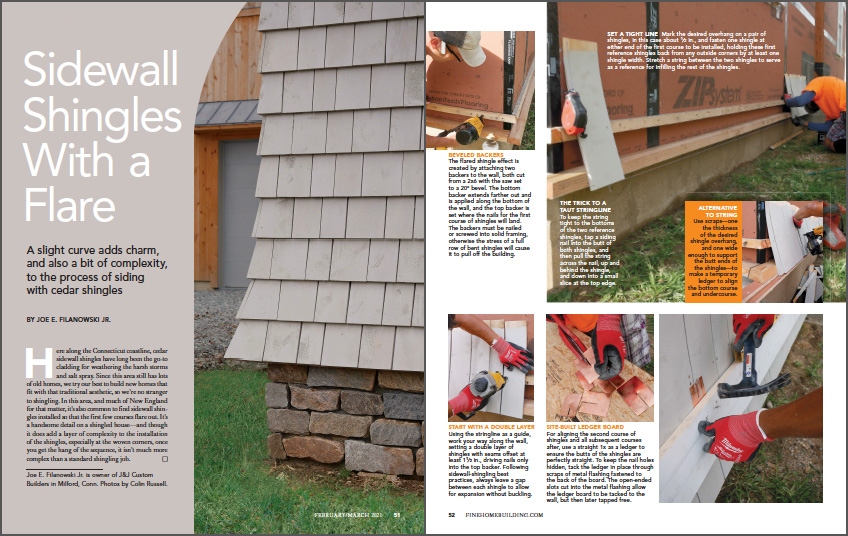
Beveled backers
The flared shingle effect is created by attaching two backers to the wall, both cut from a 2×6 with the saw set to a 20° bevel. The bottom backer extends farther out and is applied along the bottom of the wall, and the top backer is set where the nails for the first course of shingles will land. The backers must be nailed or screwed into solid framing, otherwise the stress of a full row of bent shingles will cause it to pull off the building.
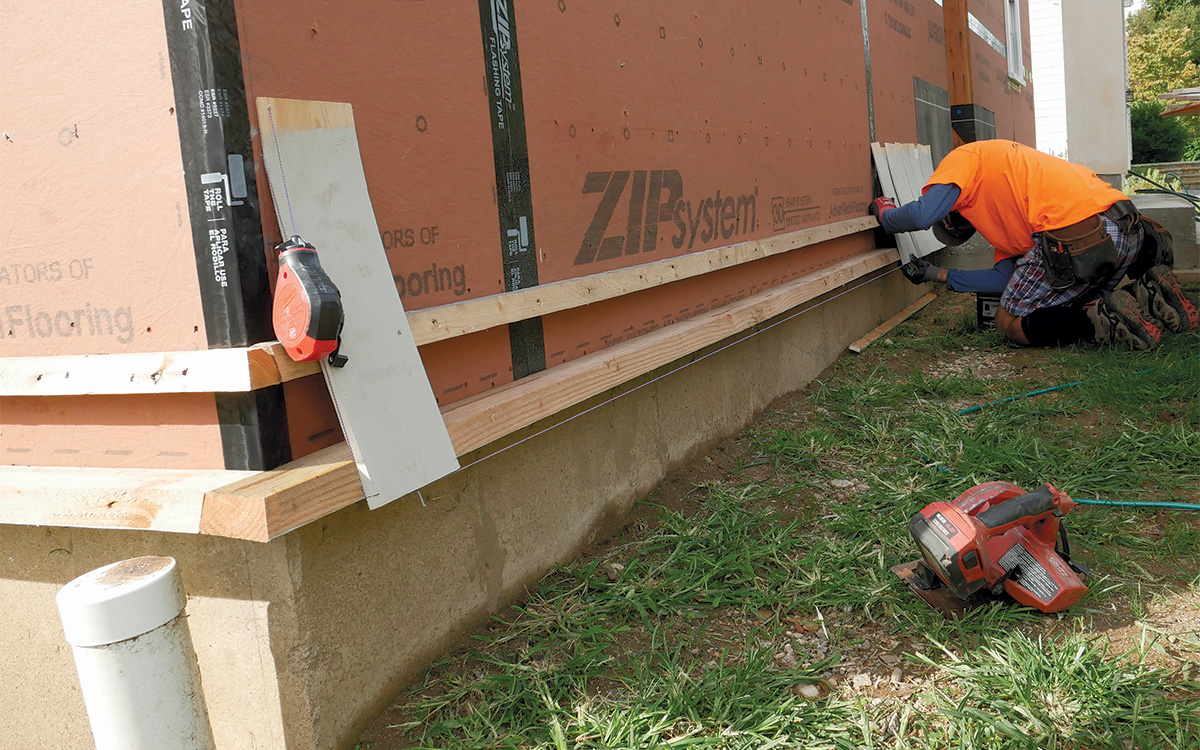
Set a tight line
Mark the desired overhang on a pair of shingles, in this case about 1/2 in., and fasten one shingle at either end of the first course to be installed, holding these first reference shingles back from any outside corners by at least one shingle width. Stretch a string between the two shingles to serve as a reference for infilling the rest of the shingles.
|
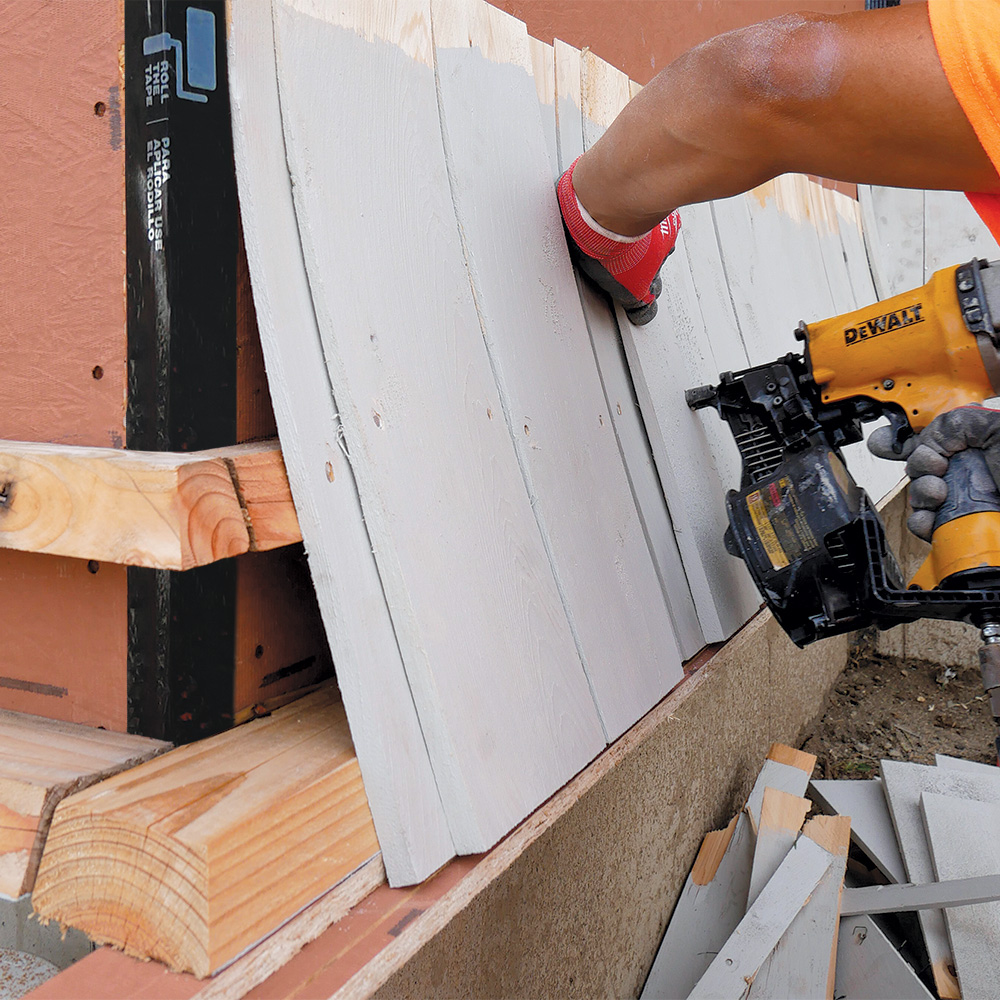
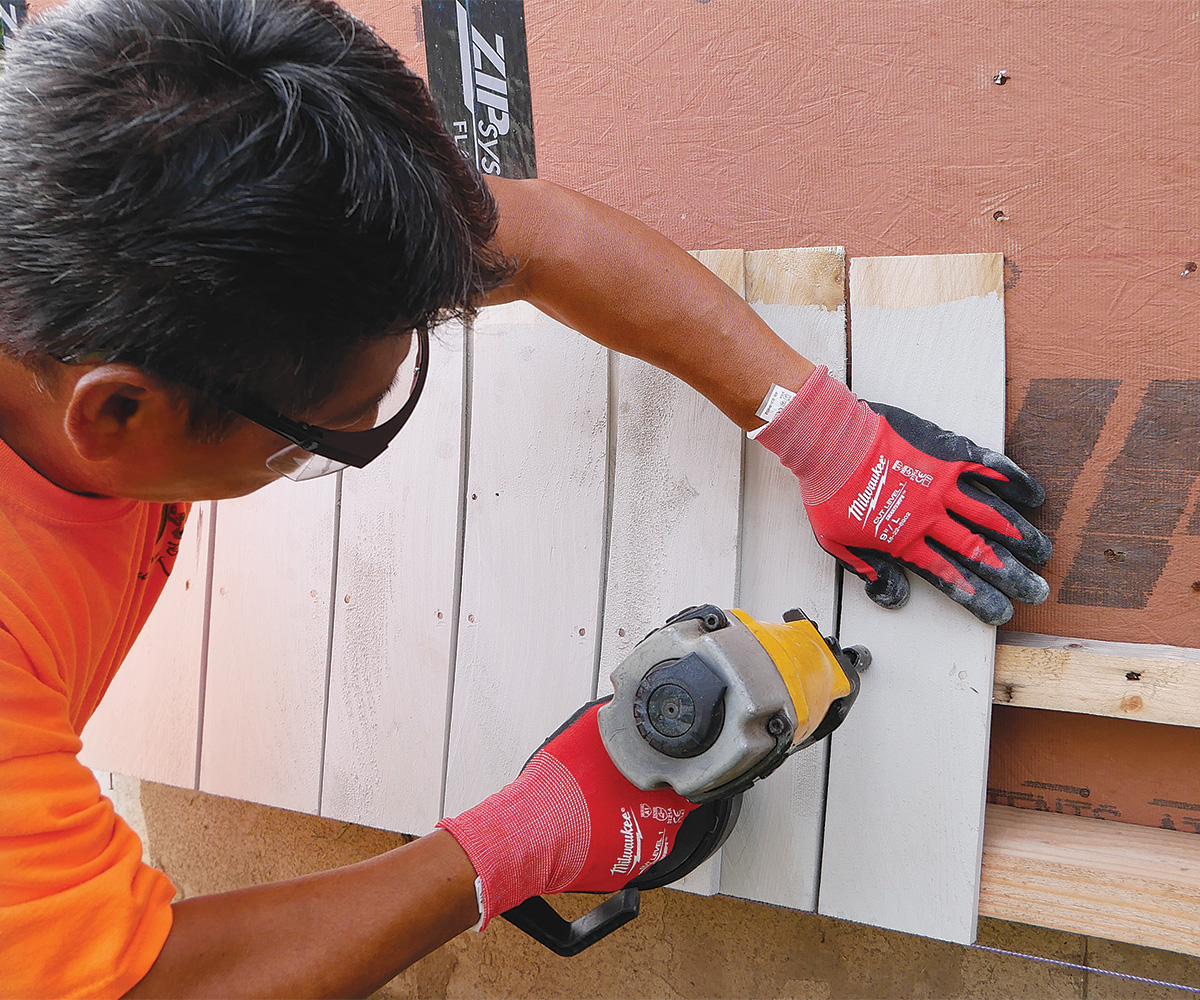
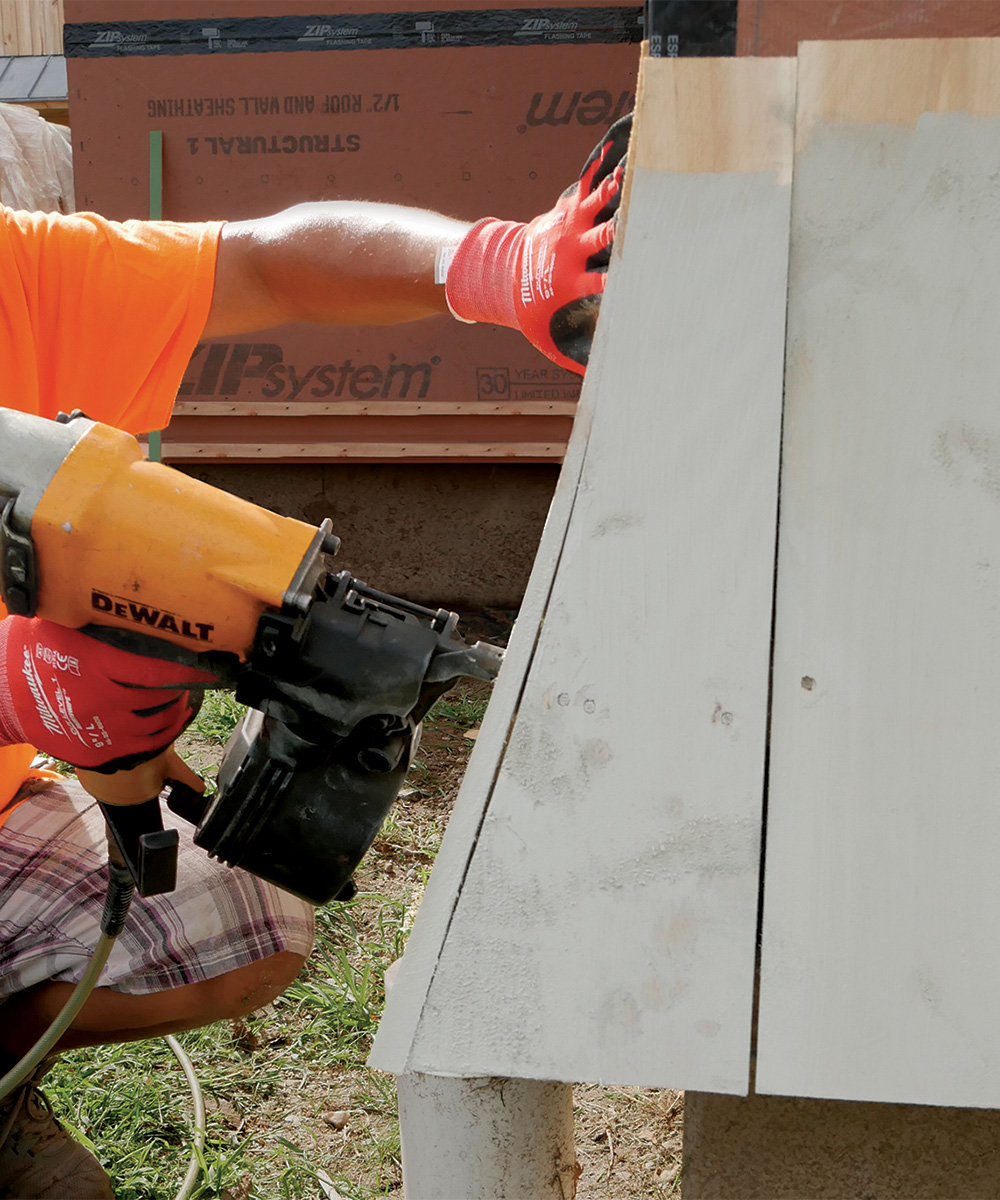
Start with a double layer
Using the stringline as a guide, work your way along the wall, setting a double layer of shingles with seams offset at least 1-1/2 in., driving nails only into the top backer. Following sidewall-shingling best practices, always leave a gap between each shingle to allow for expansion without buckling.
Site-built ledger board
For aligning the second course of shingles and all subsequent courses after, use a straight 1x as a ledger to ensure the butts of the shingles are perfectly straight. To keep the nail holes hidden, tack the ledger in place through scraps of metal flashing fastened to the back of the board. The open-ended slots cut into the metal flashing allow the ledger board to be tacked to the wall, but then later tapped free.
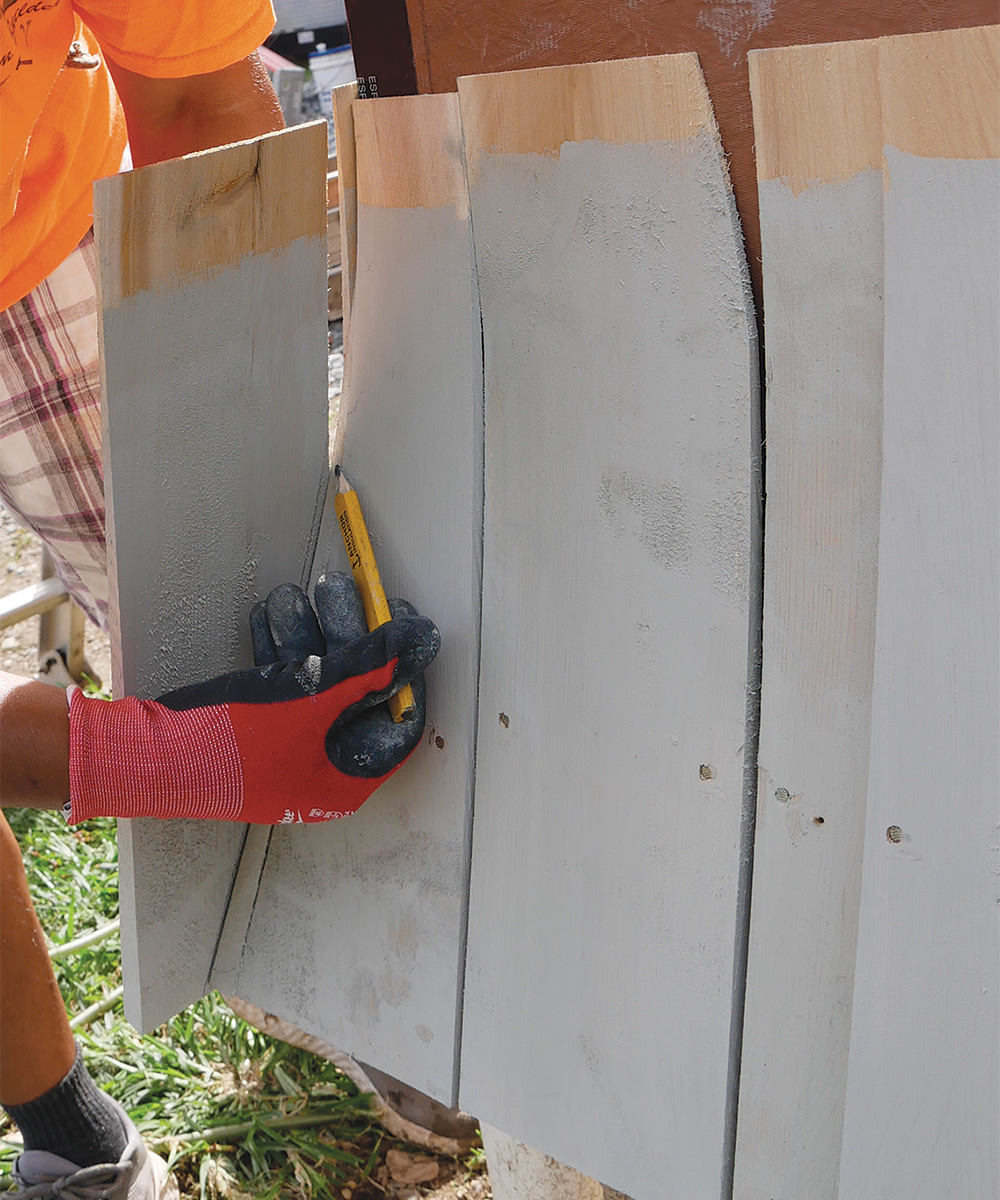
Push and mark
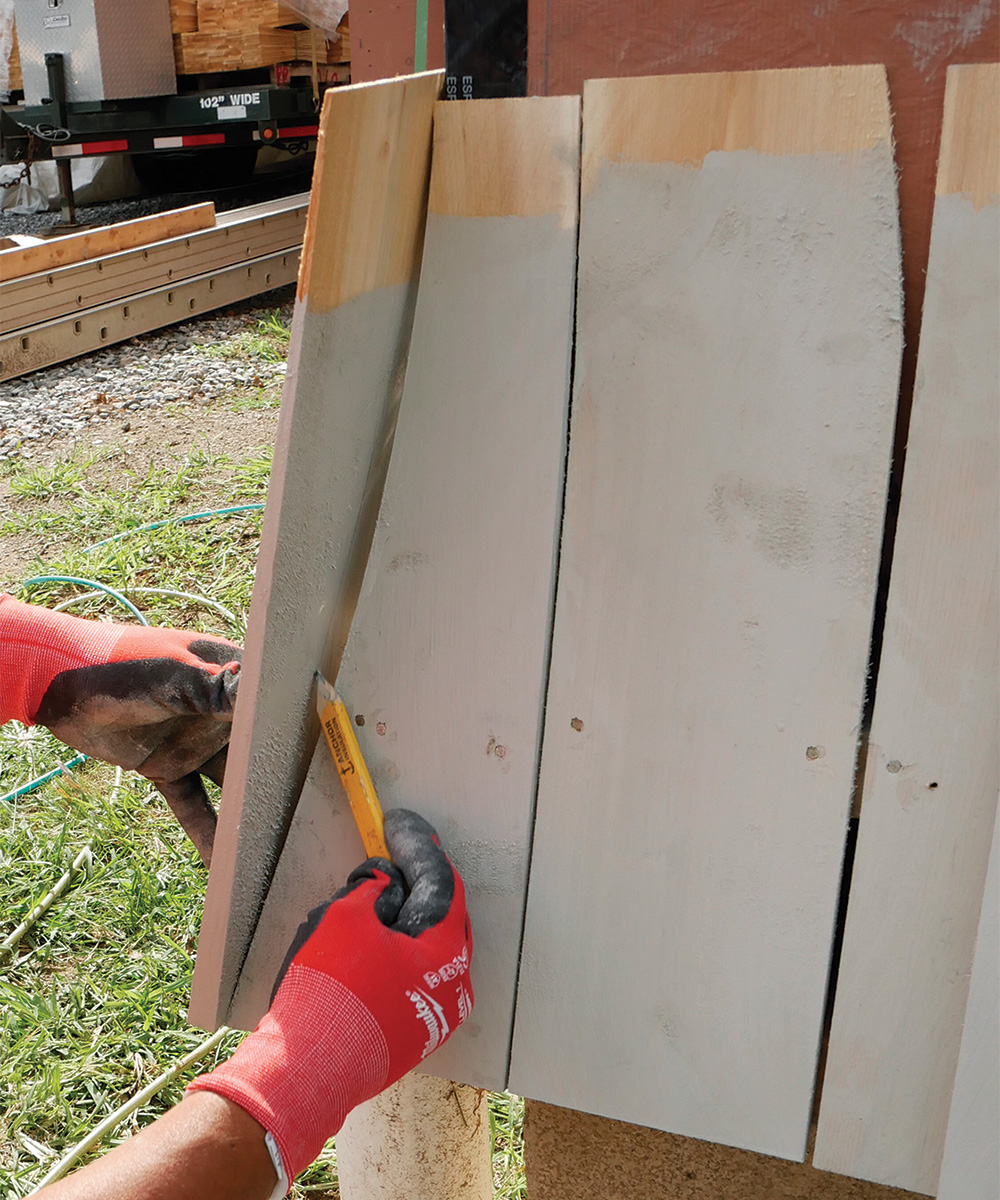
To create a woven outside corner, use hand pressure to push a shingle into place at one side of the corner while using the other hand to mark the backside along the beveled backers. This first cut—which is on the undercourse—won’t be seen, so it doesn’t need to be perfect.
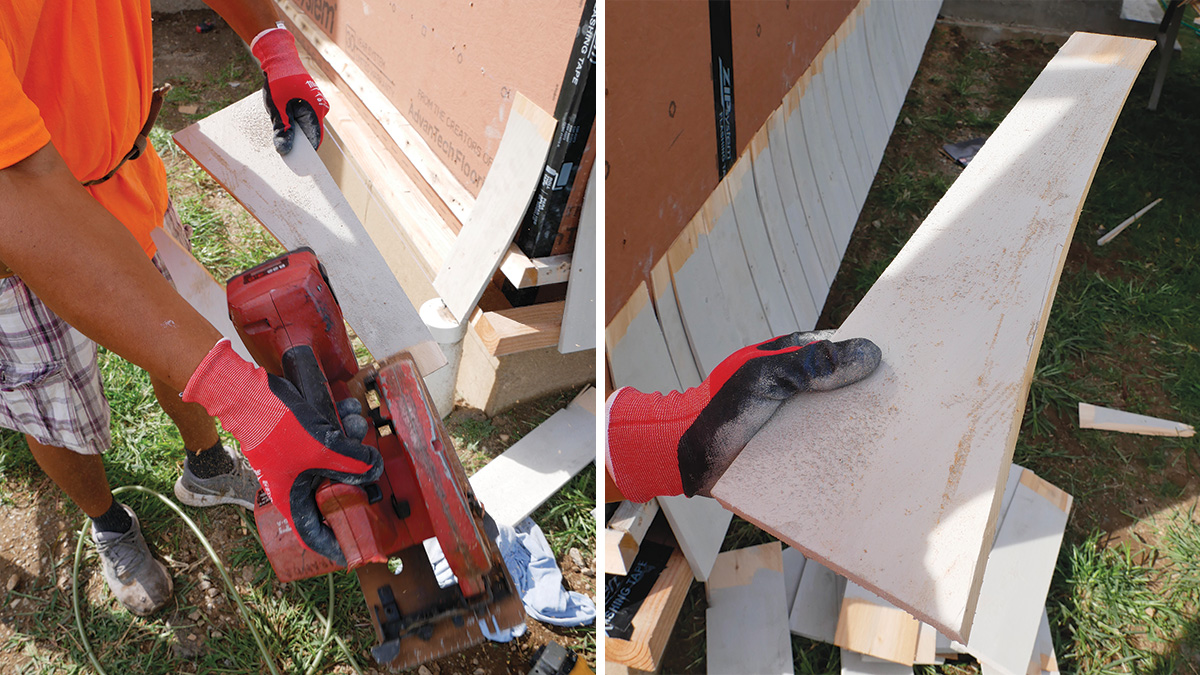
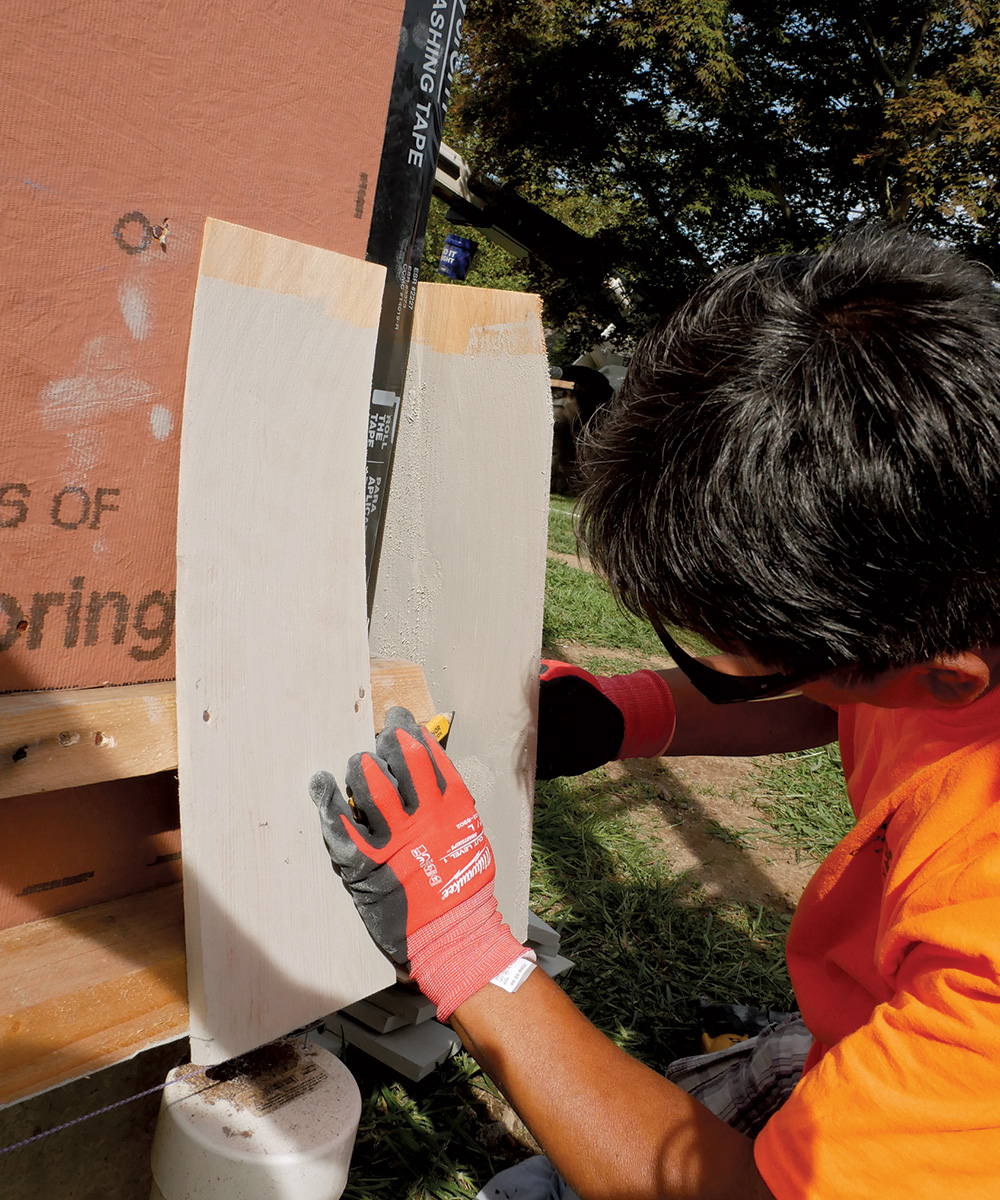
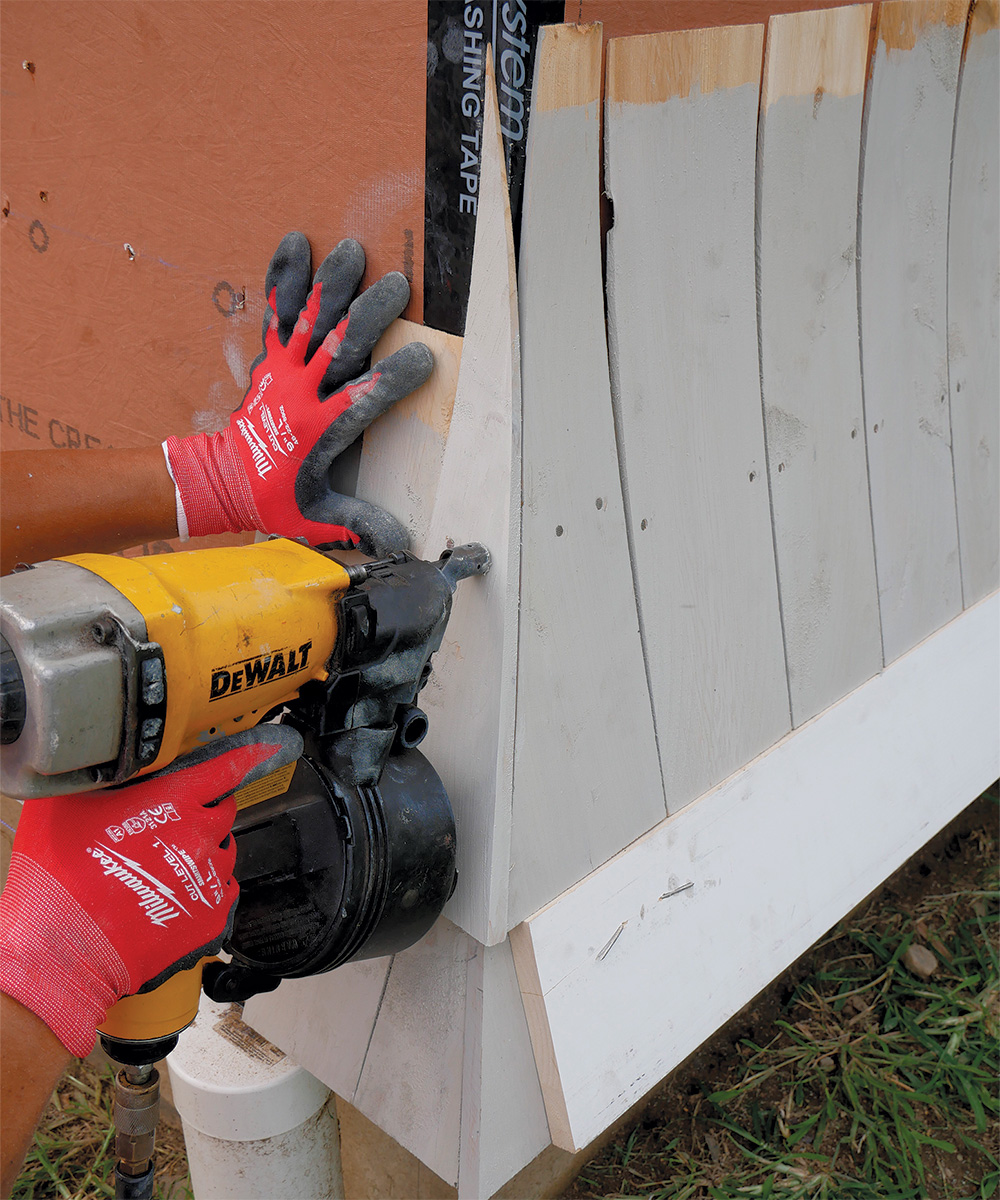
A fair curve
Although typically not thought of as a tool for cutting curves, as long as the flare is relatively gentle, a portable circular saw is an ideal tool for making a quick, smooth cut along the marked line.
 |
 |
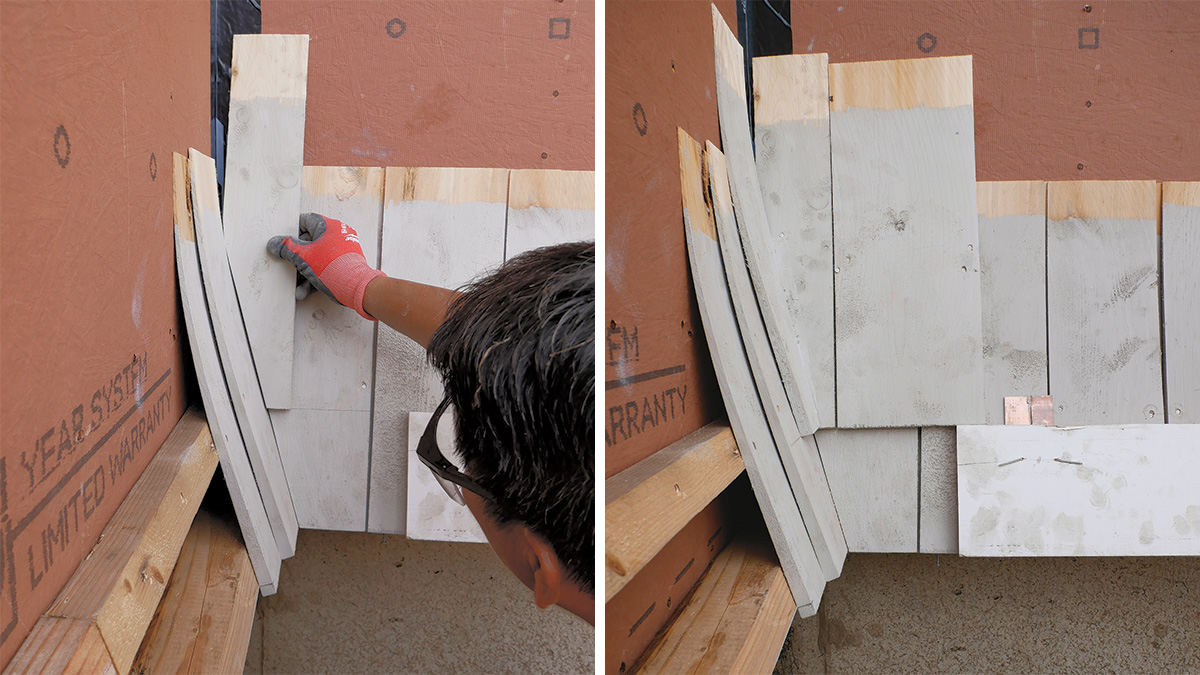
The first sets the secondAfter fastening the first corner piece into place, use it to trace the curve of the flare onto the overlapping shingle, which is pushed into position with hand pressure. |
Seal the dealAfter cutting the adjoining corner shingle and applying primer or stain to the cut edges of both pieces, fasten the corner. |
 |
 |
Reverse the orderTo cover the undercourse, follow the same sequence, but start the process on the opposite side so that once fastened, the corner joints are staggered, or woven. |
Weave up the cornerContinue alternating the seams as you work upward. Water that penetrates a seam will get stopped by the face of the shingle behind it. |
Inside corners are much the same
The concept of weaving flared shingles on an inside corner is the same as on an outside corner—change the overlap from one course to the next—except instead of holding a shingle in place to trace it, you have to rely on scribing to sneak up on a tight fit.
Rainscreen reminderIt’s generally a good idea to include a ventilated rainscreen behind exterior claddings to promote drying and reduce the risk of water damage to exterior walls, though not all shingle manufacturers and organizations recommend it. The Cedar Shake and Shingle Bureau (CSSB), which writes the standards for installing western red cedar, calls for rainscreens in only certain instances, not including the assembly shown here. There’s not a CSSB equivalent for eastern white cedar, but manufacturers of those products typically recommend a rainscreen behind them to increase their longevity. This can be as simple as a drainage mat like Benjamin Obdyke’s Slicker, which is stapled to the wall, or cross strapping with vertical furring strips and horizontal nailers on top of them. Either option can work with the flare detail shown here, and should be installed before the beveled backers to allow drainage behind them. |
From Fine Homebuilding #297
To view the entire article, please click the View PDF button below.

