Raising and Air-Sealing Tall Walls
In this first episode of FHB House Wisconsin, builder Ian Schwandt shows how their small crew builds, raises, and air-seals tall gable-end walls.
Welcome to Fine Homebuilding House: Wisconsin. We are in the middle of framing our new home and in this episode, we’ll show you how we’re raising and air-sealing the tall gable-end walls with a small crew. Here’s how we got it done.
We’re taking all of the precut studs with the top plate bevel on them. I previously snapped a line for where these studs should line up on the deck. We’re just getting everything laid out so that we can come through with the top plates, nail the wall together, and get it squared up before putting our sheathing on. So I’m using the spacer block that I cut, which gives me the spacing distance for these studs: 16 on-center. So this spacer block is cut to give me this spacing as I go down the wall.
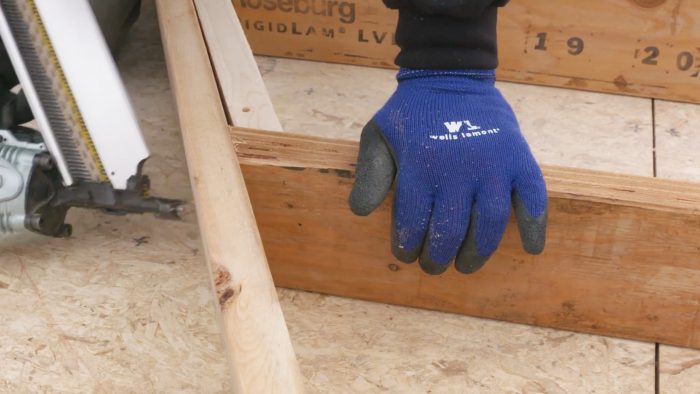
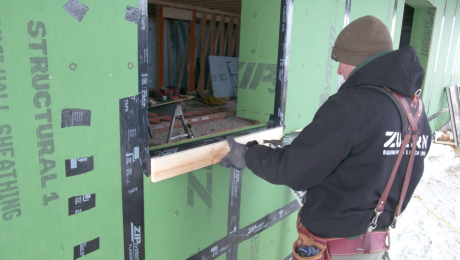
Next we put in blocking between the studs, which provides solid framing behind the joints on the bottom of each sheet of ZIP System sheathing. We’re standing the sheathing up vertically, which will put us in compliance with the shear-wall requirements in the building code. ZIP System sheathing functions as an air barrier once you tape the seams. This is great for a few reasons.
For a high-performance house, this gives you an airtight building shell quickly, as opposed to having to do it with the Tyvek or with a peel-and-stick membrane. When we complete the whole wall, you’ll be able to see that we can do a lot of it while the wall is on the deck. The reason we want to tape it while it’s laying down is because it’s almost 18 ft. tall. If it were standing up with the lower grade, outside the foundation, you would be at the top of a 20-ft. ladder, and you would have to run that tape line on your sheathing joint all the way down.
So the reason we’re leaving all of the window openings covered is so that we can tape over them with the ZIP tape, which will make it easier to test the performance of the house when we do a blower-door test. The blower door will show us where we have any air leaks. This is much easier to do while it’s laying on the deck. After we get the tape, it’ll allow us to put on rainscreen battens. Rainscreen battens create a drainage gap behind our clapboard siding, and installing them is another process that can go faster while the walls are flat on the deck. The drainage gap helps the durability of the siding and the ZIP sheathing because any bulk water that gets through the siding, or moisture that condenses behind it, has a clear path to drain down and away.
Now that our air-sealing and rainscreen details are complete, we can get ready to raise the walls.
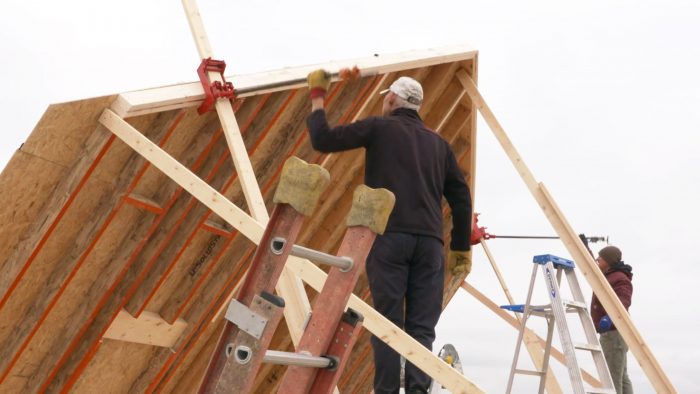
These jacks are just like the pump jacks you would use for siding a house. As we pump on the handle, this jack will climb up the 2×4, taking the wall with it. We are using the wall jacks and long 2×4 strongbacks to raise the wall. Once raised, the bottom plate is aligned with our layout marks on the deck and nailed down. 2×4 braces are attached to the ends and the middle of the wall for stability and to hold the wall plumb. The process for the other gable wall was relatively similar, except we decided to raise the wall in left and right halves due to the high wind in our area and the strain it would put on our small crew.
For the space at the bottom, we leave the sheathing off so that we can tie a full 48-in.-wide piece from the bottom of the sheet down to our mudsill. That will give us a lot of shear strength by tying this wall into the floor system and locking it together with that ZIP wall sheathing. We did that all the way around the house, and by doing that, we’re locking all the walls into the floor system.
So we’ve got our gable-end walls up, which represents a big portion of the exterior wall framing. While we were doing that today, we got our delivery of the trusses, and you can see from the parallel-cord cathedral-ceiling trusses how they match the 7-in-12 pitch profile of the top of the gables. That’s because these are going to sit inboard of the gable walls, which is going to help us with those air-sealing details.
We’ll catch up with you next time on Fine Homebuilding House: Wisconsin.

