Airtightness and High-Performance Building
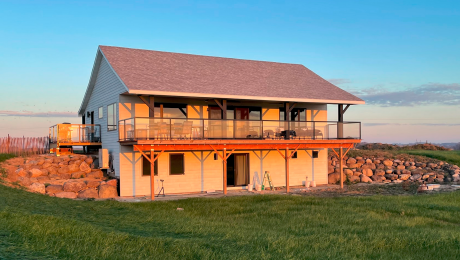
Builder Ian Schwandt recounts his education into high-performance building methods and how he applied those concepts to his own build of FHB House Wisconsin.
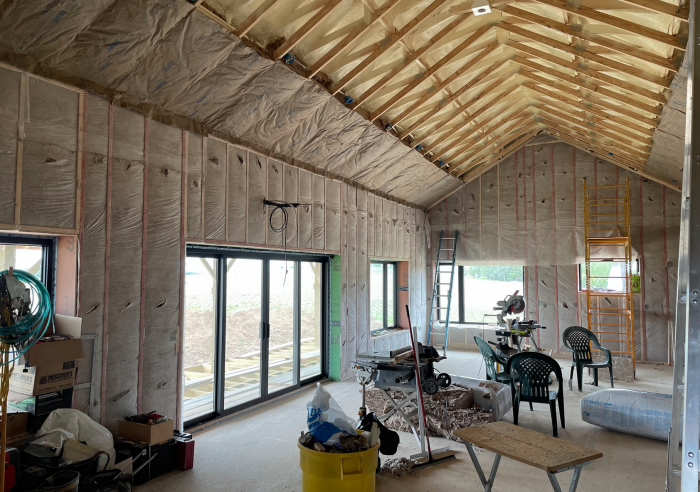
I was first exposed to airtightness while doing production trimwork as a subcontractor to a large nationwide home builder in Milwaukee, Wis., back in 2004. All that I grasped at the time was that someone in a polo shirt came at the very end of a job and pressurized the house with a weird fan mounted in the front door, and that person was the final arbiter of whether the home builder could get the Certificate of Occupancy that was needed to sell the house to the buyer.
Looking back, I bet you could have passed the required air-changes per house at 50 pascals (ACH50) at the time, even if some foolish young trim carpenter had left a second-floor window open after rolling up his extension cord. Jokes aside, I do remember the polo-shirted techs using copious amounts of caulk to get some of the more rambling McMansion designs to pass the test.
Skipping ahead to 2017, I started working for Hudson Valley Preservation, whose owners Mason Lord and Dave Seegers are members of Northeast Sustainable Energy Associantion (NESEA) and participate in the NESEA Bottom Lines peer review group, Plan Bygg. Through this association with Plan Bygg, I was able to meet many of the leaders of green high-performance building in the northeast. Influenced particularly by Dan Kolbert of Kolbert Building and Elizabeth DiSalvo of Trillium Architects, I started to think about how I could go about building a high-performance house of my own someday.
With the seed planted, I started to look for additional opportunities to learn more. Over the next few years, I took many different building-science classes throughout the northeast, culminating in my Certified Passive House Tradesperson course at the Association for Energy Affordability in the Bronx of New York City. When Sara and I started to actively design our house on SketchUp, I had condensed the basics of what I had learned down to three important design drivers: Keep the shape a simple rectangle, keep water out from the footings to the roof, and build it airtight.
Concept to action: Starting the build
 |
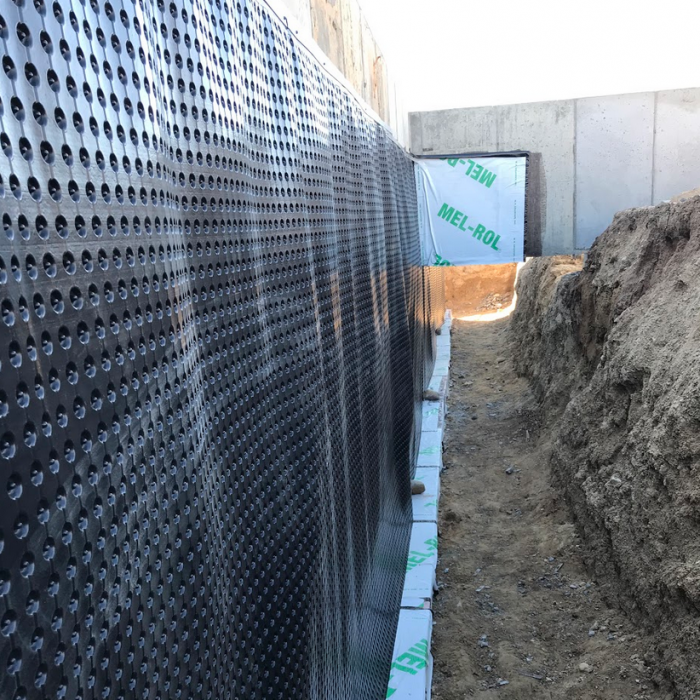 |
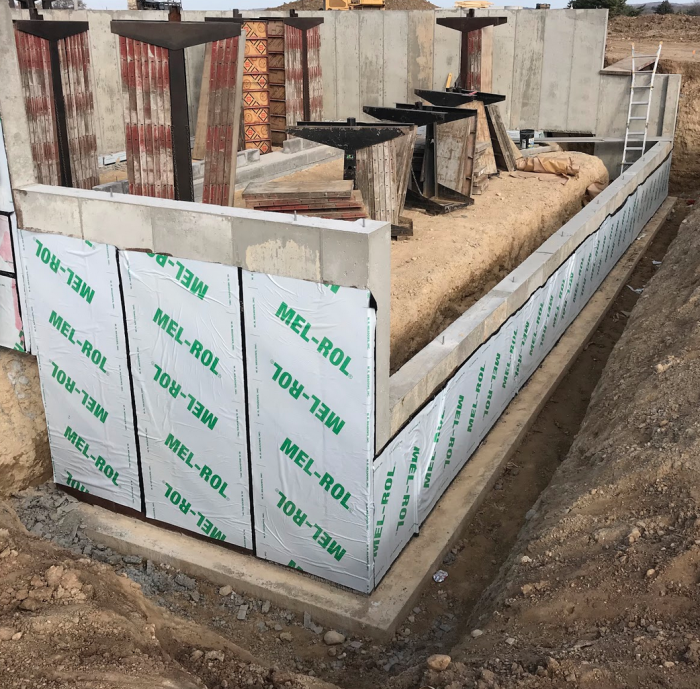
Starting down at the foundation I used Mel-Rol waterproofing membrane as both a capillary break on all three faces of the footing and on the exterior side of the poured concrete foundation walls. I installed Platon dimpled membrane on the foundation walls over the Mel-Rol to give water a clear path down to my footing drains since our dense clay soils could cause potential drainage issues over the life of the building.
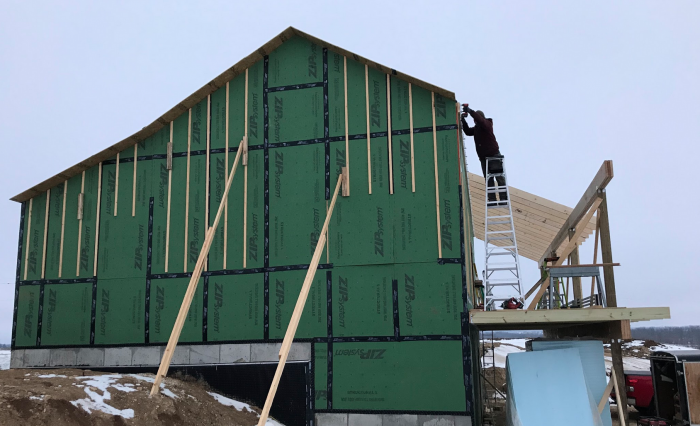
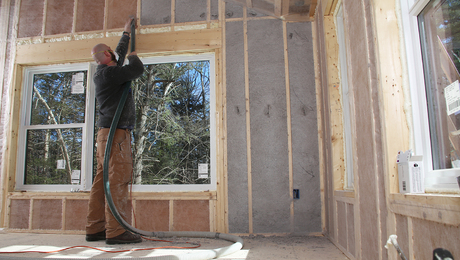
Inside the basement our heated concrete slab sits on an R-20 layer of rigid insulation board while the below-grade walls have an R-10 layer of rigid insulation followed by a 2×4 stud wall with R-15 mineral-wool insulation. The fully exposed basement walls are 12-in. double-stud walls with dense-pack cellulose, LSL framing members for the bearing wall, and Zip System Sheathing and 1×2 rainscreen battens on the exterior.
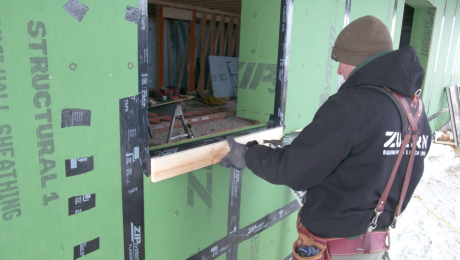
The sheathing seams are taped with Zip Tape, and the joint between the sheathing and the concrete foundation is taped with Contega tape from Pro Clima. Shout out to my wife Sara who crawled around on the frozen or muddy ground installing this tape!
The Dan Kolbert–inspired double walls carry through to the main floor of the house where we used Pro Clima’s Tescon Profect tape to air-seal the interior side of our Marvin Essential windows, Marvin Ultimate patio door, and Therma-Tru exterior doors. I cannot say enough about how easy the Tescon Profect tape makes it to perfectly air-seal the interior of the windows and doors. That was without a doubt one of the most important takeaways that I had from my Passive House training. The tape allows you to use a drainable insulation such as mineral wool to insulate the windows in a manner that allows water to drain out into the rainscreen drainage plane while still achieving a tight air-seal on the interior.
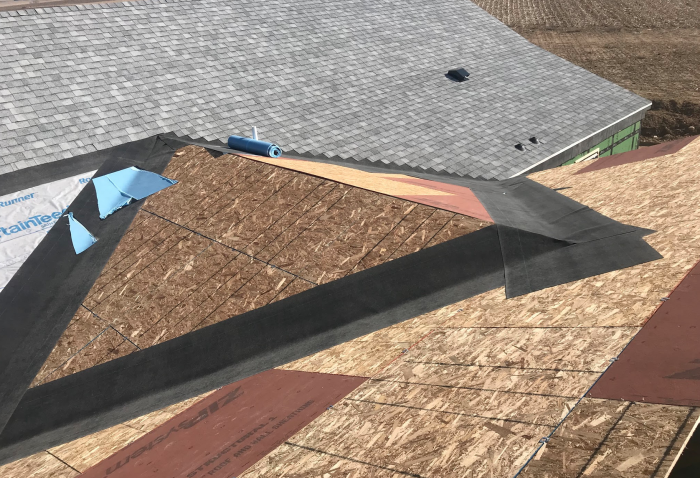
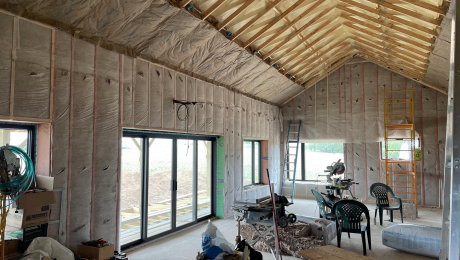
For our roof assembly we used 16-in.-deep parallel-chord trusses for our cathedral-ceiling 20-ft. by 45-ft. great room and 2×12 rafters for the remaining 10-ft. by 45-ft. portion of the upstairs that contains the scullery, entry, and stairwell. The roof assembly, due to its geometry, is unvented and has a 4-in. flash coat of closed-cell spray foam (R-28), followed by R-39 batts in the great room for R-67 and R-21 batts in the rest for R-49. One of my missed opportunities in the build was not furring the 2×12 rafters down 4 in. to hit R-67 in that space as well. The exterior of the roof is sheathed with 1/2-in. Zip Sheathing with seams taped with Zip tape. We used a synthetic roof membrane under the asphalt shingles.
When the time came to move to the insulation phase of the project, we decided to do a blower-door test just to see how we had done. Pre-test, we went around and used an army of different tapes including Zip Stretch tape to seal off any mechanical penetrations. Joe Paprocki of Trinity Environmental came out to administer the blower-door test. Using his standard-sized blower door that looked much like the one that I remember from my production trim days, Joe was able to get a reading down to 0.59 ACH50, putting us right on the Passive House target for airtightness. Since Joe’s test, we have sealed a few holes and insulated and drywalled the entire house. Sometime soon we will have Joe come back with his smaller duct-blaster fan and see if we have shaved a few addition hundredths off our already great result.
Looking back on all the difficult technical work involved in framing these assemblies, installing windows and doors, and just self-building the house in general, the extra work that Sara, our fathers, Bob and Morry, and I put into taping joints, rolling Zip tape, taping windows, and waterproofing the foundation feels like a drop in the bucket in terms of our total efforts. But it is this small amount of extra effort that has made our house something truly different.
Image courtesy: Sara Lukasiewicz
RELATED LINKS

