Air-Sealing Exposed Rafter Tails
Travis Brungardt and Joe Cook demonstrate how they're dealing with the air barrier between their exposed rafter tails.
We’re back in Prairie Village, Kansas, at the FHB House 2022 working on exterior air- and water-management details. In previous episodes we’ve talked about our cantilevered sill detail, which sticks out to support the ZIP System R-Sheathing and to close off the bottom side of the polyisocyanurate rigid exterior insulation. Now, working our way up the wall, we have exterior exposed rafter tails that are a bit time consuming and tricky to air-seal.
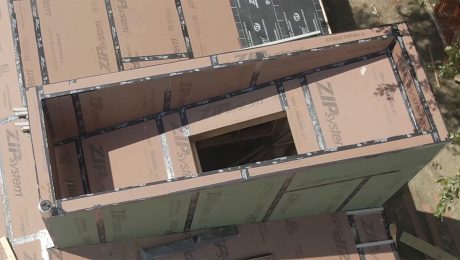
To accomplish our air barrier in this area we have to block and put ZIP R-Sheathing in between each rafter. We ripped all the ZIP to the width of the bay for vertical blocking in order to get a better nailing surface. We’re relying on a taped joint between the existing wall sheathing and our roof sheathing, and then we will use ZIP System Liquid Flash between the blocking and the rafter tail. We like this detail because with the trim elements around it, using tape would cover too much surface area. So we’re able to cut the nozzle to exactly the width we want it. It’ll be a little slow, but it’s going to get the job done, and it’s going to accomplish really one of the most important details on the house, which is controlling the air.
These exposed rafter tails will have a tongue-and-groove ceiling, and 1×6 car siding that goes all the way down to the back of the subfascia where there’s an air gap that allows for ventilation over the top. Those exposed tails really serve as the architectural feature they’re intended to be while being fully air-sealed.
RELATED STORIES
- Getting Sheathing onto the Roof
- Conquering Complicated Roofs
- FHB House 2021: Sheathing the Roof and Completing the Air Barrier

