Achieve a Flat Drywall Finish
These products and methods result in the clean lines essential to a midcentury-modern aesthetic.
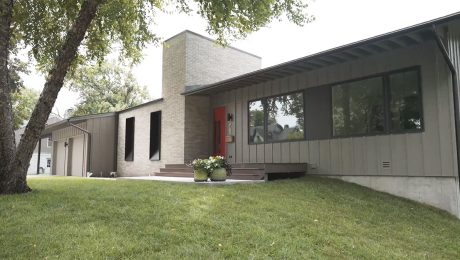
At this stage in the FHB House in Prairie Village, Kansas, we are moving on to installing drywall.
Using a stiffer board
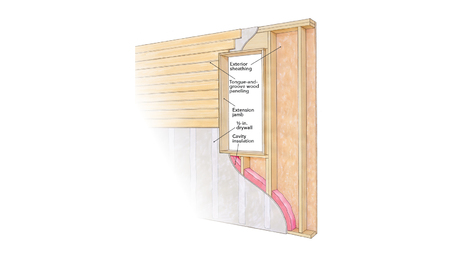
On this project, we’re using 5/8-in.-thick drywall. This thickness was specified by the architect for a couple reasons: (1) the stiffer board provides a flatter wall on the 2-ft. centers we’re using for our exterior wall framing, and (2) it creates additional sound attenuation. A thicker, denser product means less sound moves through that system, providing a better experience for the client. When the drywall is combined with the insulation package, this will be a very quiet house.
Levels of drywall finish
The drywall in this house will progress from level 2 to level 4 finishing. A level finish 2 involves putting up paper tape and a coat of compound to produce the fire rating. A level 3 finish covers all the nail holes. By level 4 this drywall will have had two fills—taped and filled—and then an application of a final coat sanded smooth. That’s the level that we’re going to get to on this project.
When hanging drywall sheets, waste is created by the need to land boards on structural members for fastening. With the advent of Trim-Tex’s Buttboard, that is no longer the case. This product is basically a piece of OSB that has full thickness at the edges and then a slight profile that makes it thinner in the center.
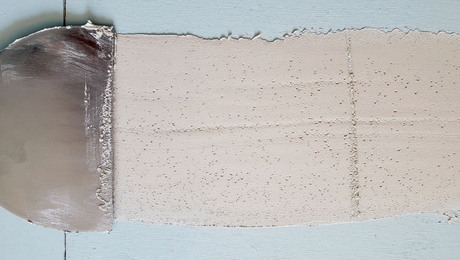
Rather than have them land on a structural member, you actually want to break your joints in the field between them—ideally centered between the structural members. The thinner taper of the Buttboard is really important at this point because it allows us to more efficiently achieve the flatness we’re going for on this project. Because we already have the taper, we can apply a full coat of compound and tape without ever projecting beyond the surface of the paper-face drywall. By putting the Buttboard in the middle of the structural members, we have created an ideal condition for a low-effort flat finish. This means fewer passes, which means less product and less sanding.
Drywall finish around the windows
In this project, the trim is not very heavy—we have a windowsill, minimal baseboard, and minimal casings. And for the window, the drywall is essentially the finished project. We’ll use corner bead on the vertical edge, attach it with a spray adhesive, and then mud it into place.
On the inside vertical edge, we’ll use a tearaway bead against the windows and will mud right up against the inside corner edge. When the drywall installation is done, the drywallers will tear away this bead, which will give us a nice, clean finished look against the windows.
Planning for unique lighting
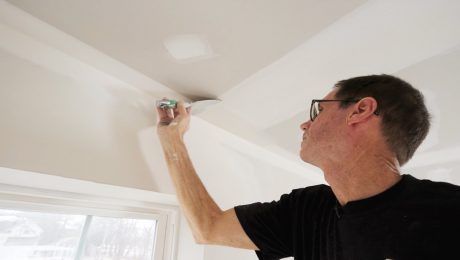
There are also a lot of lighting trays in this house we need to accommodate. There is a recessed drywall shelf right below the ceiling on which we’ll use LED lighting tape. The drywallers will finish it off with Trim-Tex J bead, spray the adhesive, and then apply the mud. We’ll attach the LED tape right in this tray, and then when you’re standing in the kitchen, you’ll be able to look down this nice straight lighting tray that projects light up onto the ceiling and provides a nice, warm glow. In order to achieve all these key details that really put a signature mark on the house, we need to have a clean finish. Clean lines are the essence of midcentury-modern design.
RELATED STORIES

