Architectural Strategy for a Unique Skylight
Learn how this "skylight chimney" cleverly solves massing issues as well as how to properly air-seal this kind of feature.
In this episode, we look at an interesting feature—the skylight “chimney.” The sides will be covered in a split-face brick and have a lot of cool details. We’ve brought the architect, Chris Fein, in to explain why we have this particular configuration in the first place.
A design solution
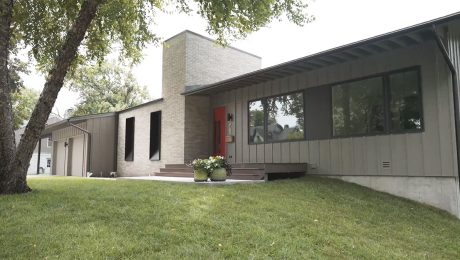
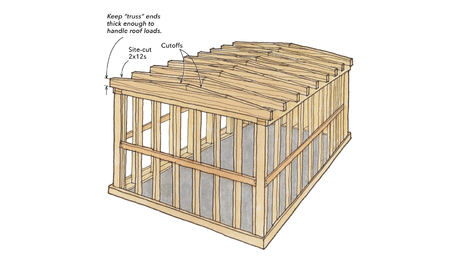
The skylight chimney is a detail that was chosen to solve multiple problems. The massing of the house needed the scale of a chimney, but it’s in the wrong place, and so we built as many things into this chimney piece as possible and made it into an intentional architectural strategy. Directly underneath it on the inside of the house is the staircase to the lower level. There is also an integrated skylight directly over this staircase, which has shaped and sculpted the interior space. The pitch of the roof runs up inside, creating a cricket gutter that allows the water to dry out.
Air-sealing the chimney skylight
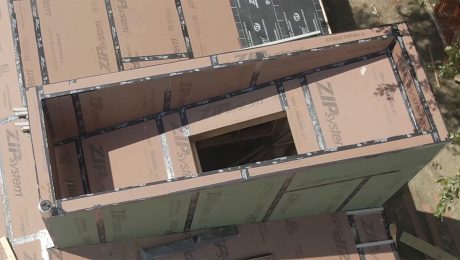
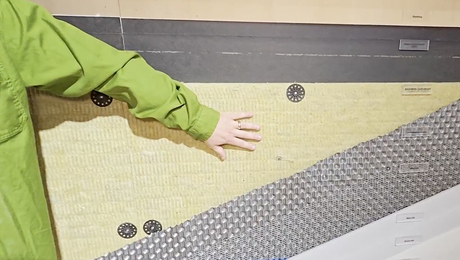
The complexity of the air-sealing for something like this, if you want to integrate it into the thermal mass, can get tricky fast. We chose to continue the ZIP sheathing on the side, but because the thermal barrier is under the roof deck, we’re not as worried about the thermal benefit here. We chose to use ZIP-R because that’s what we have on site and we don’t like to waste material, but it doesn’t need to be ZIP-R for a situation like this.
We will clad the interior and exterior and tape the top—almost as if we were doing airtight drywall on the interior, in which you would tape from the outside of the sheathing over the lid and bring it to the interior. This continuity of ZIP to ZIP will allow us to be airtight and watertight. The gap at the bottom was specifically chosen to allow some snow to melt off. We’ll add ice and water shield, but our roofer will roof everything else.
The skylight will allow natural light to stream down. It won’t be as bright in the morning as it is in the middle of the afternoon, and it will also dim in the evening a bit as well. But this is going to be where our skylight is, and below it is the staircase to the basement.
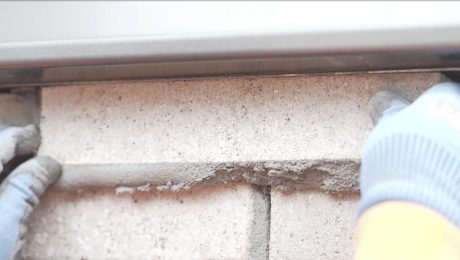
In addition to detailing the top of this structure to be durable, we also need to detail the inside with some cladding to make sure any snow that sits in this cavity, up against the cladding, can do so without causing damage and then flow out. We’ll add a metal cap on the top and then a lintel to carry the Roman split-face brick.
This is one of those builder details where the people on the ground and the neighbors will never appreciate how difficult this was. But we really care about how this works, and we appreciate the work and design of the architect.
RELATED STORIES

