How To Replace a Sink Trap
Learn how to cut into an existing drain pipe, measure and fit the new plumbing parts, and connect it all to your sink.
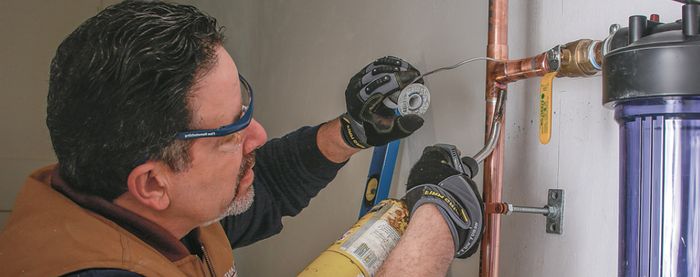
Sink traps may need replacement for a few different reasons. In this video from the Fine Homebuilding archives, plumber Bruce Norman explains how to rebuild your entire sink-trap assembly and make it the best plumbing in the house.
Because the undersink area is regularly used as storage, the exposed trap assembly is bumped and jostled, and can become damaged. Also, the trap assembly might not have been installed correctly, and its horizontal runs could be insufficiently pitched and not drain well. Finally, the trap could be an outdated configuration, such as an S-trap, which has been eliminated under most code jurisdictions. While some traps can be taken apart and cleaned to restore proper flow, I recommend rebuilding the entire trap assembly.
The two materials most often used for sink plumbing are PVC and ABS (acrylonitrile butadiene styrene). For the repair featured here, I used ABS because the joints are bonded with one-part glue as opposed to the two-part glue needed for PVC. I use glued joints wherever possible but incorporate threaded unions at the trap and tailpieces for serviceability. For this sink, I added a cleanout below the trap assembly, which is required by code. Then I added the sanitary tee to allow for venting.
Originally, there was no vent to this old S-trap system, which is common for old plumbing. Most codes require the vent to be restored to allow liquid to drain quickly. In this case, I installed an air-admittance valve (AAV). Check with your local building department for any restrictions if you choose to use an AAV.
Read my article “Replace a Sink Trap” from Fine Homebuilding #206 for more details and photos on this process. And read about another technique for sink trap installation as well as Fine Homebuilding’s primer on Better Undersink Plumbing.


