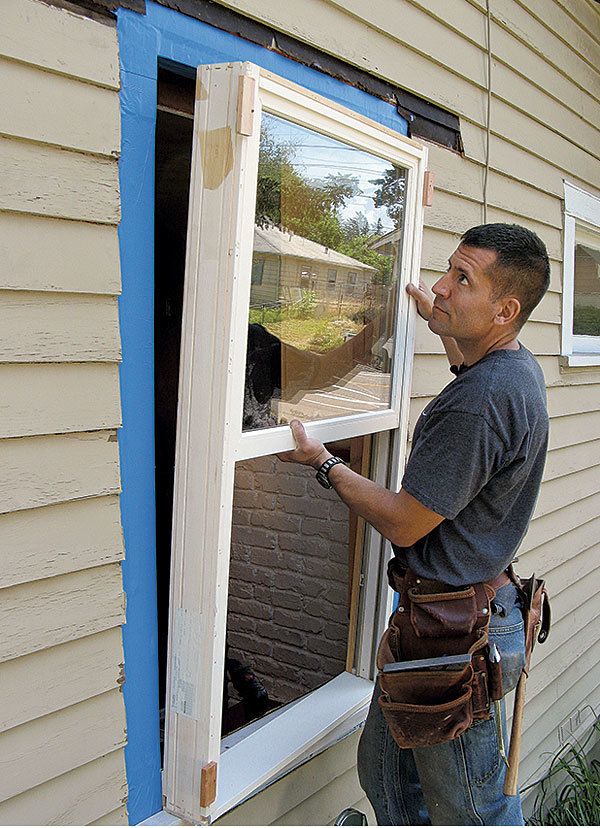
Replace a Wood Window: Part 1
In this first segment, carpenter Scott Grice explains how to remove the old window and flash the rough opening.

Synopsis: Wood windows look great on old houses, but they sometimes need to be replaced. In this two-part “Building Skills” article, carpenter Scott Grice outlines the first set of steps necessary to replace a wood window. First, take the measurements for the new window. Next, remove the old window, starting with the sash, then the trim, the weights, and finally the window itself. After you prep the rough opening, then you can install flexible flashing, first on the sill and then on the sides and top of the opening. This article includes a sidebar about ready-made pan flashing. Read Part 2 here.
WATCH THE VIDEO SERIES:
How to Replace a Window with Scott Grice
Go step-by-step through the process of replacing your old wooden windows. Six episodes covering everything you need to know to upgrade your old wooden windows. Learn how to preserve or match your existing trim and siding for a simpler install. And learn best practices for insulating a new window.
Aesthetically, old windows have charm to spare. Functionally, they aren’t so charming. Replacing a window is a basic project, but it is involved enough to be covered in two phases. The first phase includes measuring for the new window, removing the old one, and prepping the opening. For this job, I chose a wood window to match the windows in the house and ordered it without stock trim or brick mold so that I could match the trim.
I sized the new window to fit without having to cut back or patch the existing siding. The rough opening, however, needed blocking to close the sash-weight space that old windows have and new windows don’t. For this, I use 2x lumber that matches the existing framing.
There’s nothing charming about having a piece of plywood covering a hole in the house while I wait for the new window to arrive, so I always make sure the new window is what I ordered before I remove the old unit.
Measure the existing sash
To size the new window, measure the distance between the inside of the window tracks for both width and height. Add 1 1⁄2in. (3⁄4 in. for each jamb) to the width and 3⁄4 in. plus the thickness of the stool to the height. This will give you the outside dimension to use for ordering a new window.
Remove the old window: sash first
It’s safer and easier to remove the window frame with the operational sash taken out. With a pry bar, remove the inside sash stops. Cut the sash-weight cords, and let the weights fall into the cavity. With the stops and cord removed, the lower sash should easily lift out.
Trim second
To ensure that the house paint remains intact, score the seam between the trim and siding before prying the trim loose. Windows made before the mid-1950s have a cavity behind the trim to house the sash weights.
Weights, then window
After pulling out the loose sash weights, remove any fasteners holding the window in place, and lift the entire window frame from the opening in one piece.
Add blocking
Once the old window frame is removed, clear debris and errant nails. Use 2x lumber and spacers to block in the sash-weight cavity and to create the appropriately sized rough opening for the new window.
Fur out the blocking
The front face of the new rough opening should be flush with the sheathing. In this case, the author was able to use the old window trim, ripped to width, as furring.
Flash the sill first
Use self-adhesive flexible flashing to create a waterproof sill pan. First, spread the flashing across the rough opening. Then cut down along the inside edge of the opening, and lay the flashing across the sill. To seal the corners, run another 8-in. to 10-in. piece of flashing down the side of the opening, lapping it over the top of the sill pan and down the front.
For more photos and details, click the View PDF button below:


View Comments
Video link has been broken ever since new site. Please have someone fix please!
It's fixed!